2024 // 2025
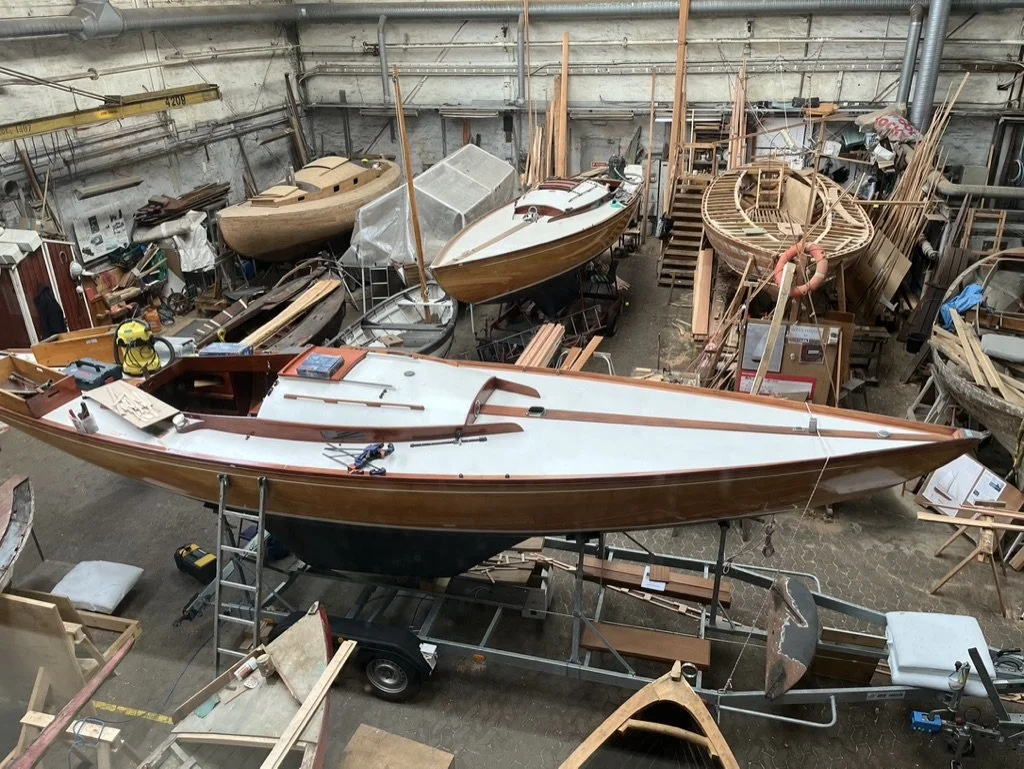
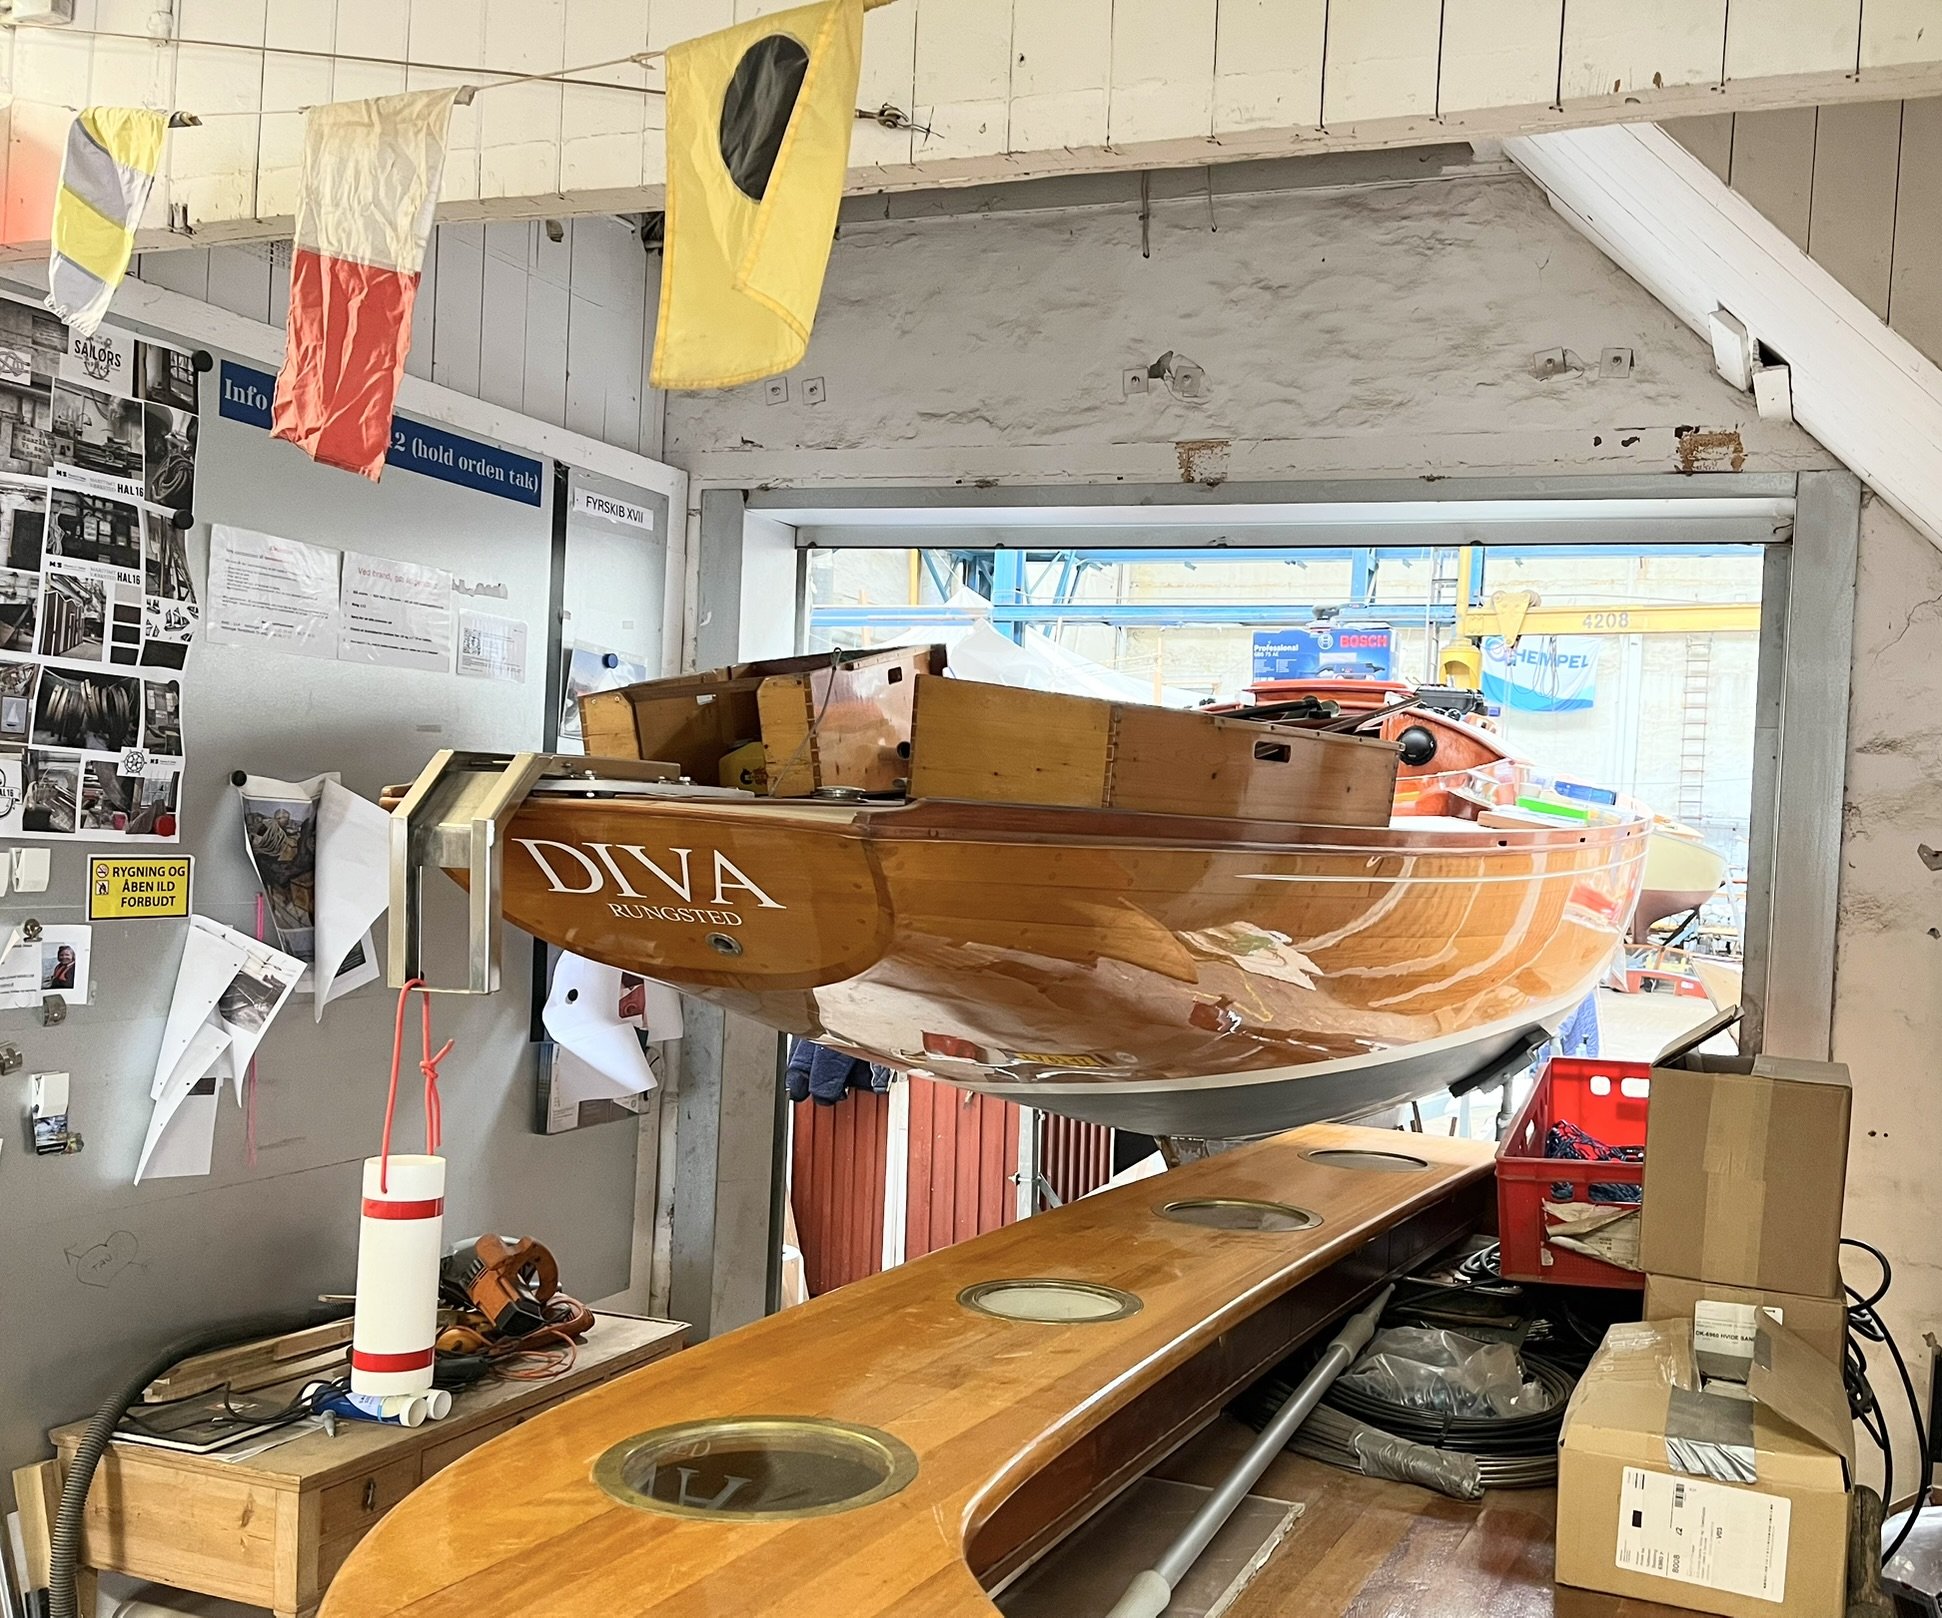
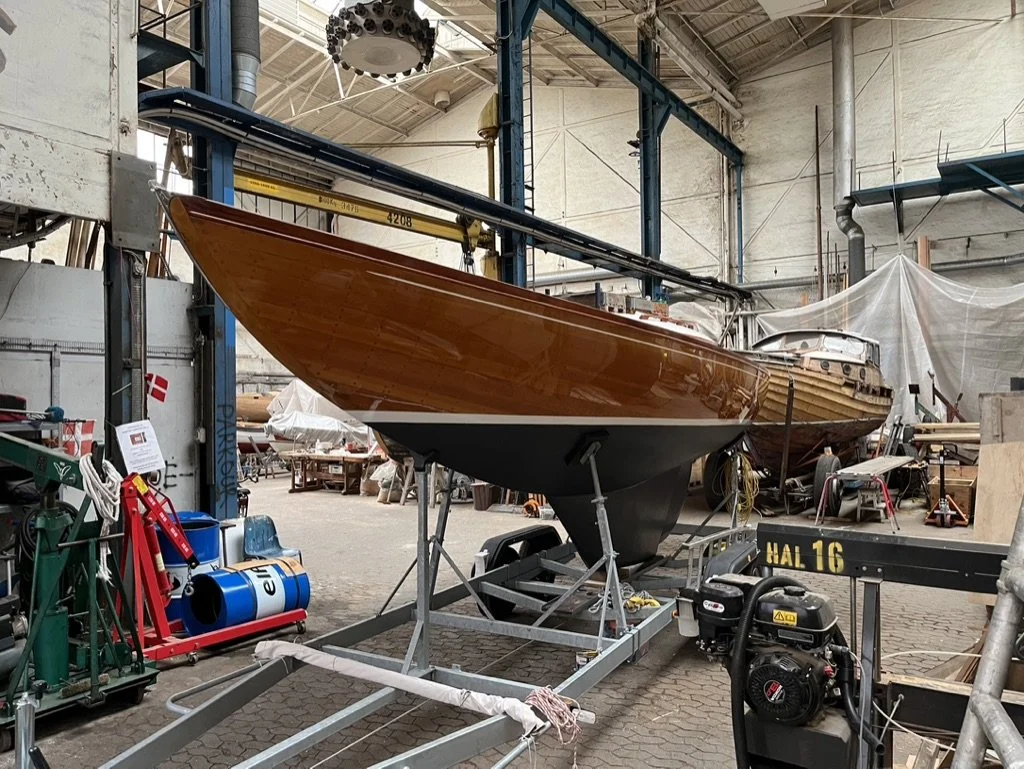
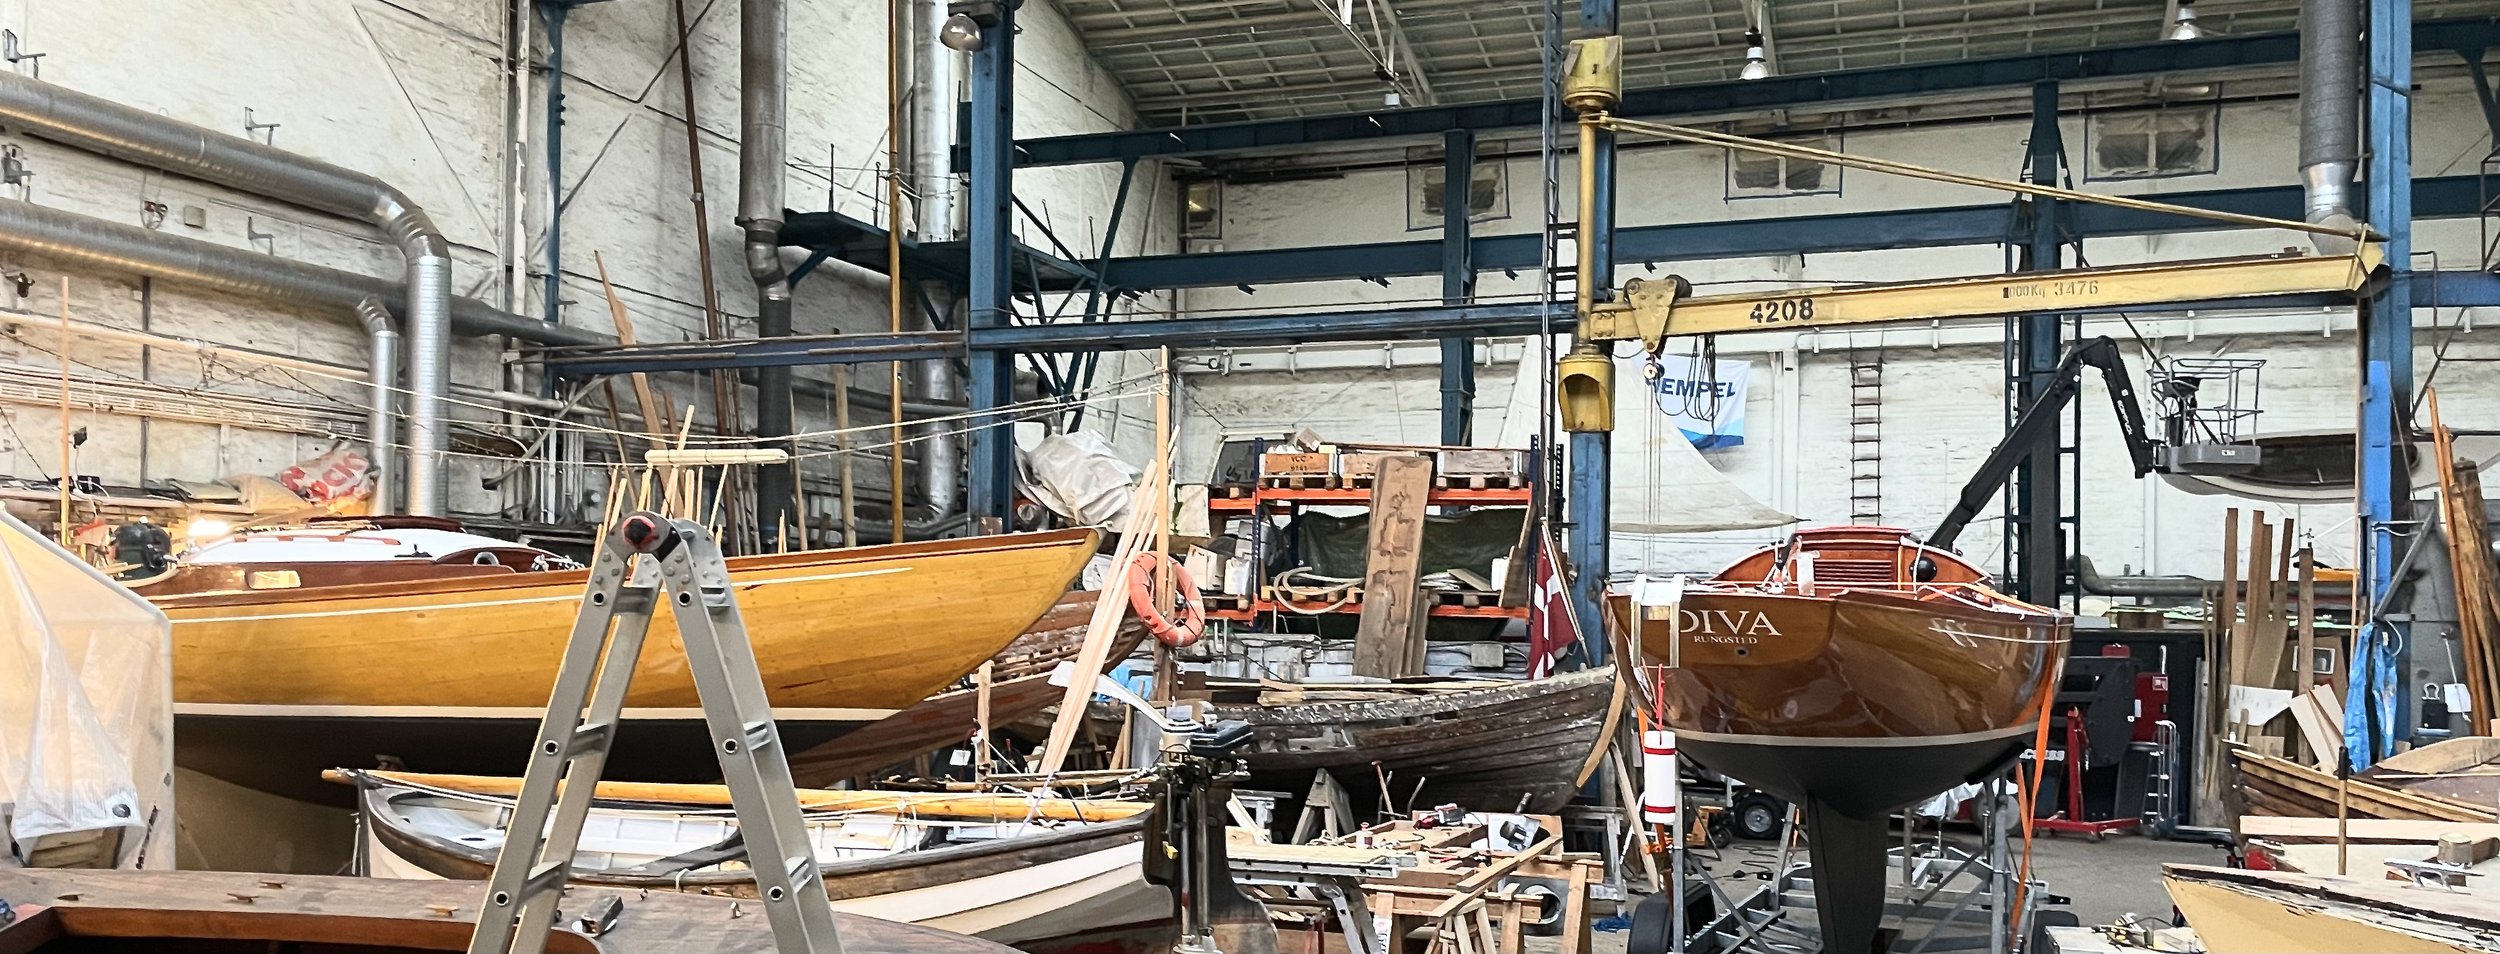
Back in Hal 16
for more structural work
Rudder shaft needs to be replaced
-
First challenge is to remove the rudder. The old screws are stuck and bolts need to be drilled out. I ended up sawing the rudder shaft.

-
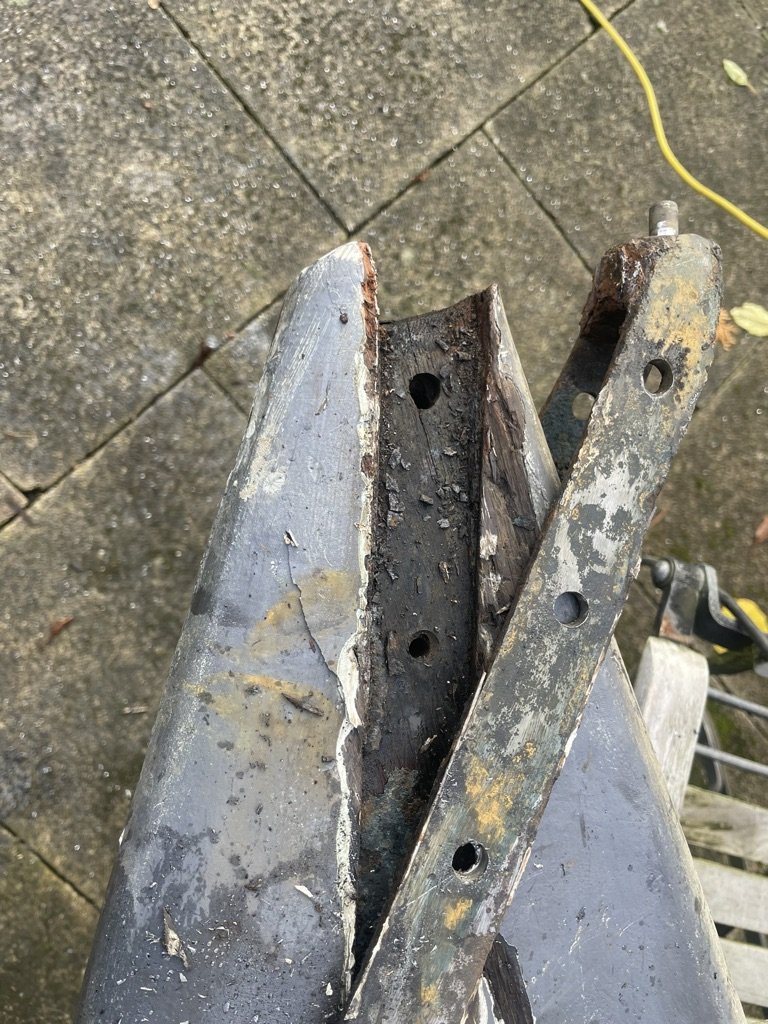
The rudder shaft has lost about 40% of its circumference, at the most exposed point. It is time to replace it for a shaft in stainless steel.

-
Also the bracket at the connecting point at the rear end of the rudder needs replacing. The bracket is mounted with through bolts.
-
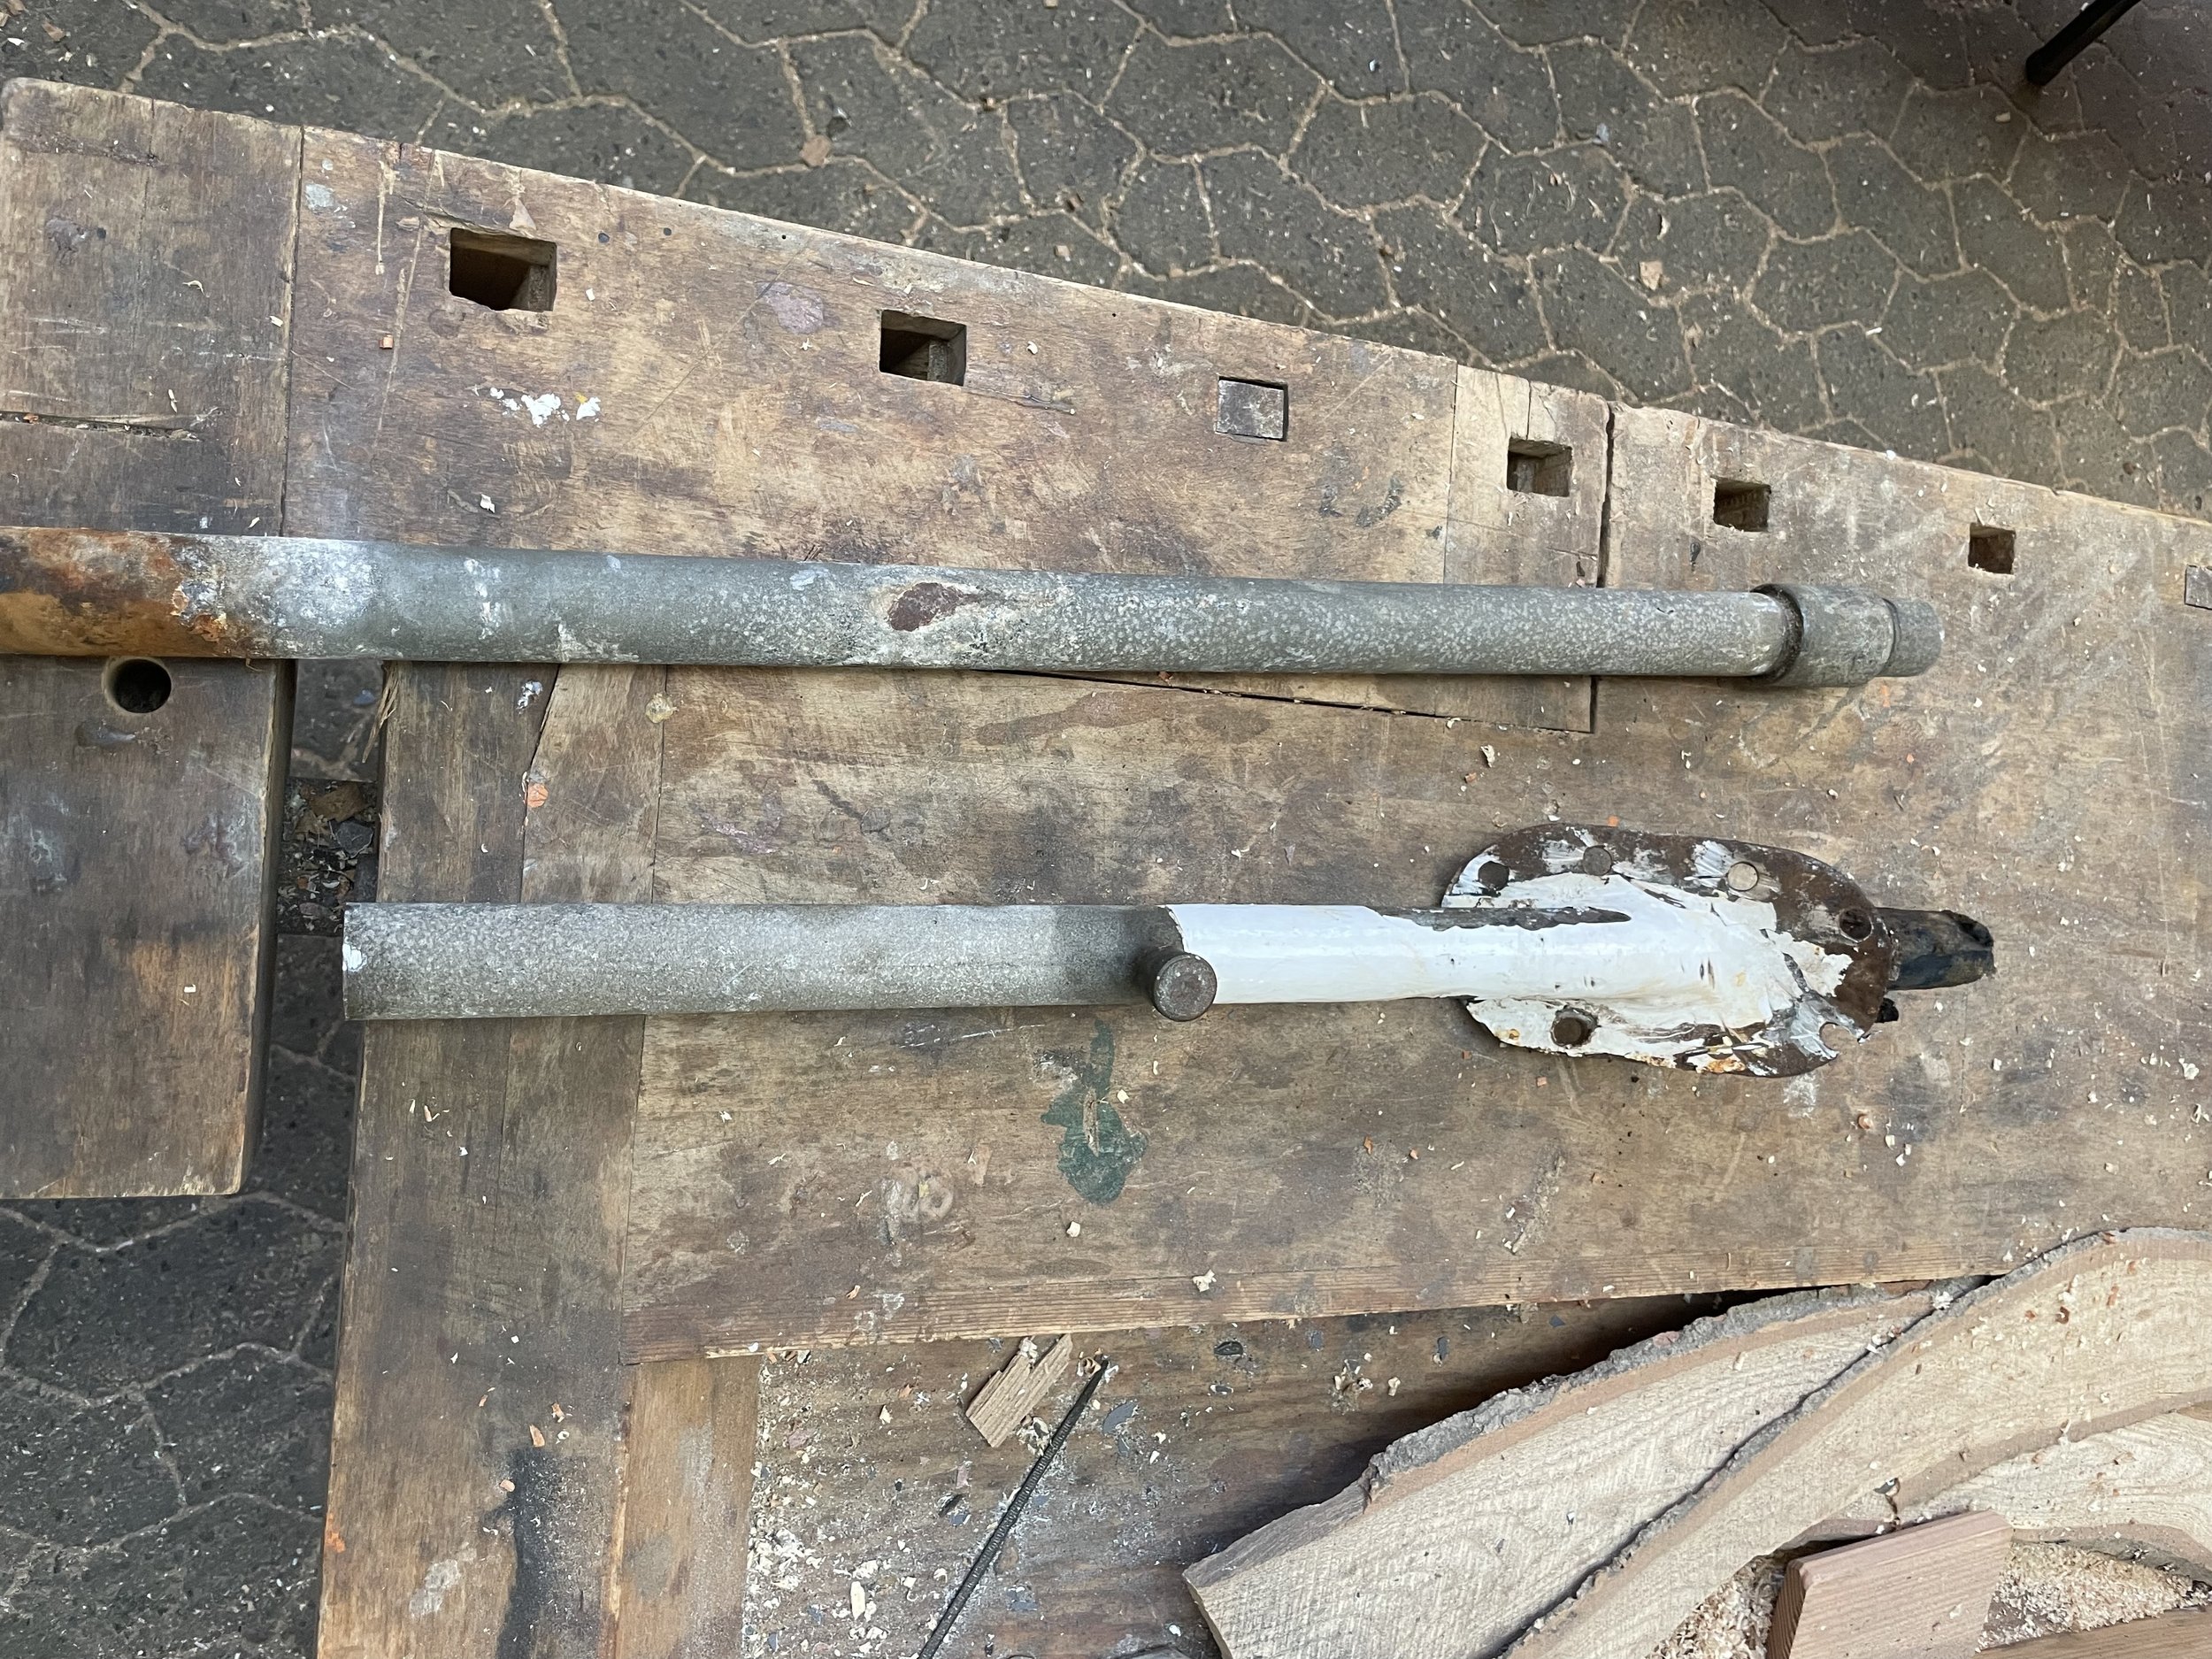
The rudder shaft runs up through a galvanized pipe, which is also being replaced with one in stainless steel.

-
The tube for the rudder shaft had to be cut in two in order to get it out. The bracket at the bottom has seen better days.
-
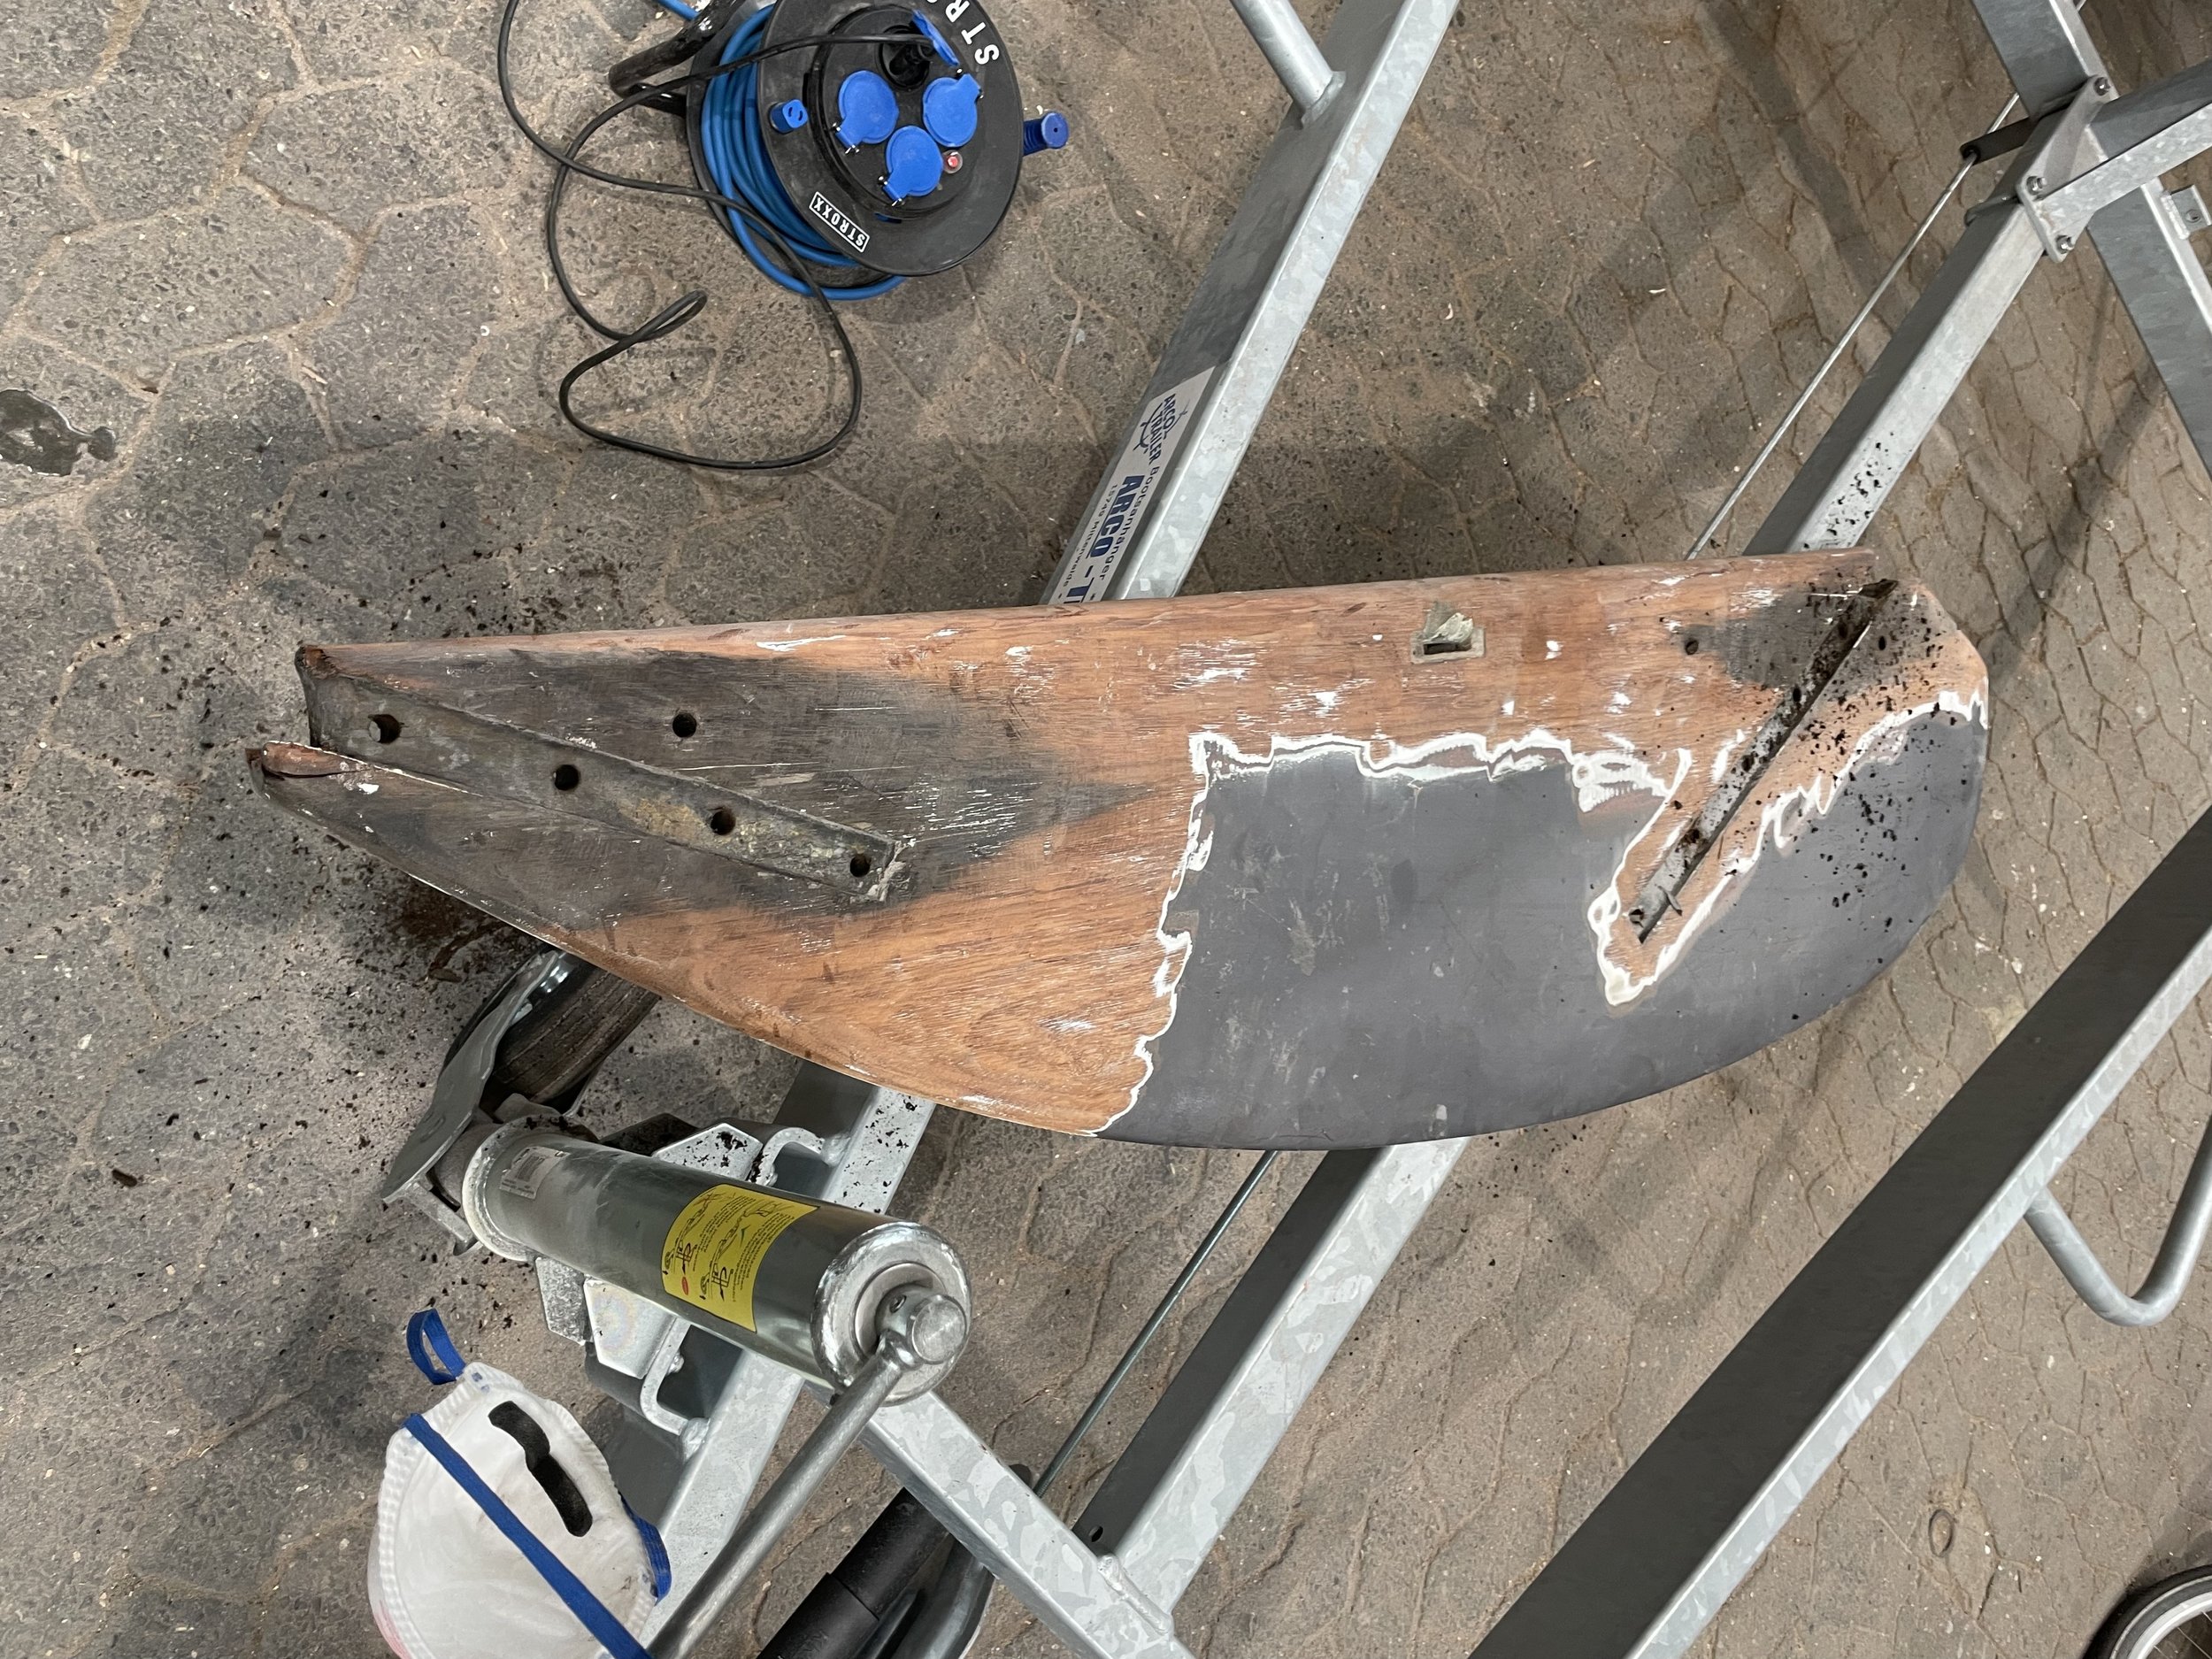
There are obvious discolorations of the fine Mahogany wood, but no rot. No need to replace the rudder, but there are some minor repairs that needed some attention.
-
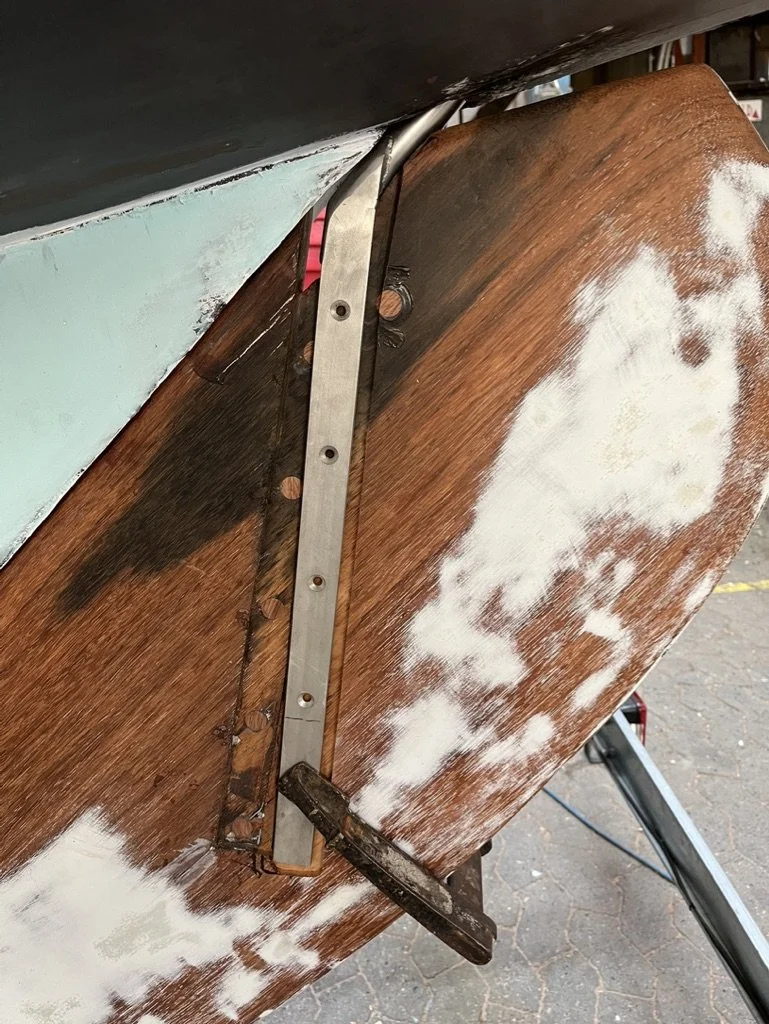
The new rudder shaft did not fit the cut outs in the rudder. The old holes were plugged.
-
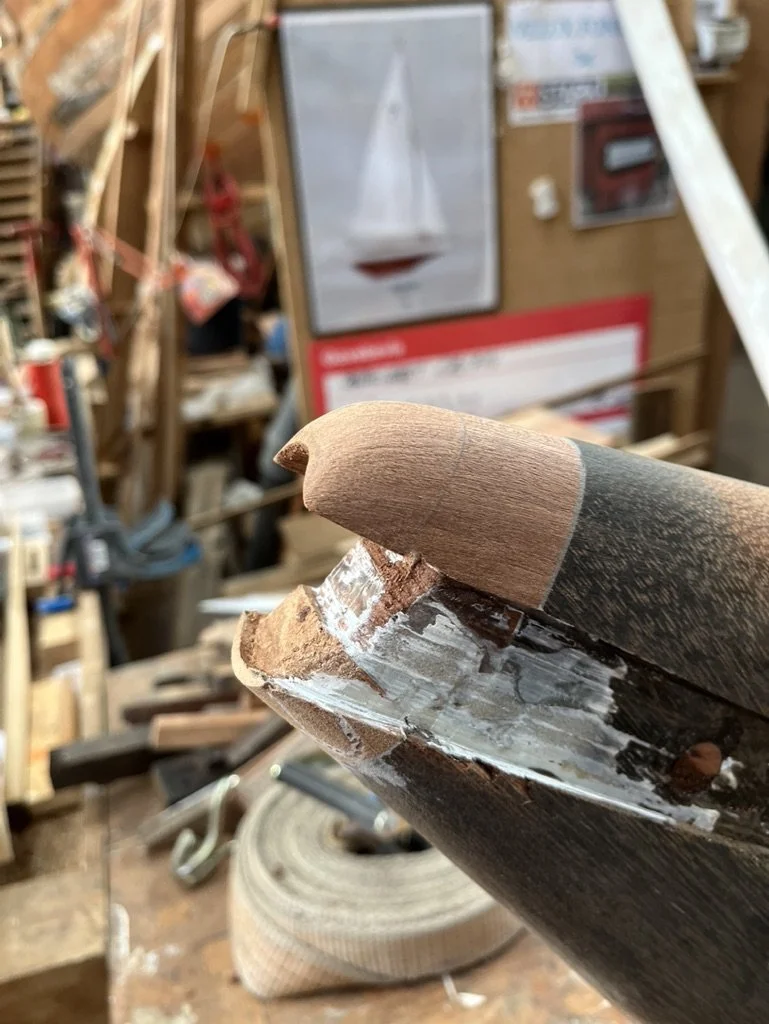
Lower section of the rudder needed to be repaired, which is not really a easy job.
-
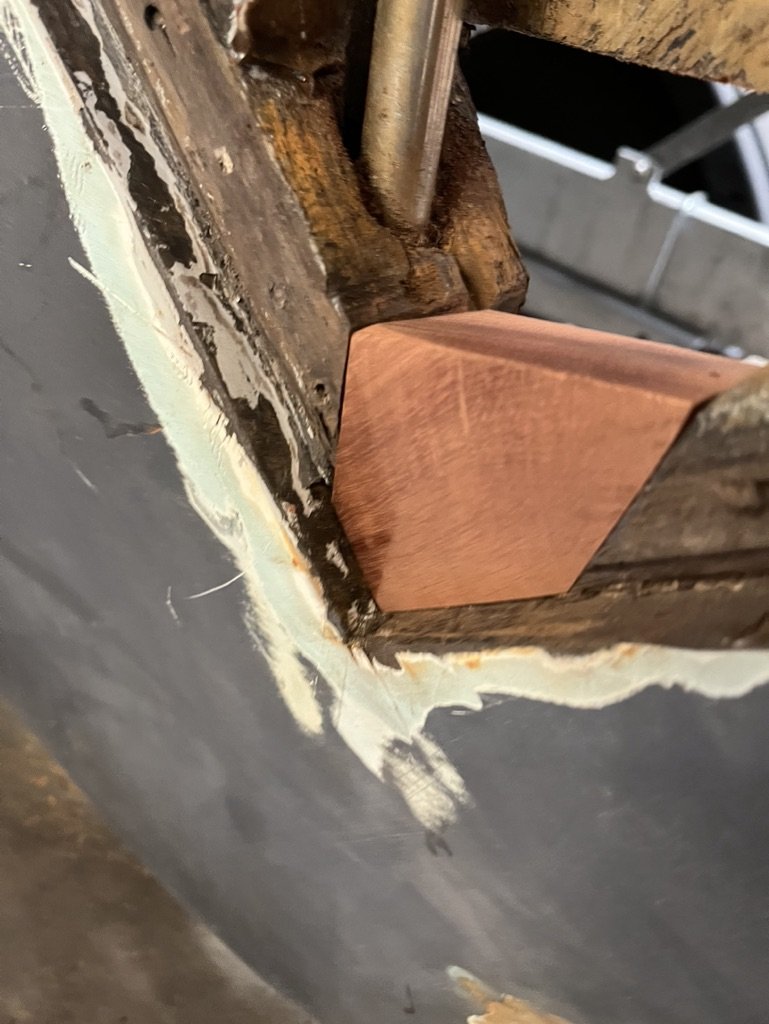
Dry fitting the rudder is a more work than it seems. The kobber bracket in the mid-section prohibits the rudder to jump.

-
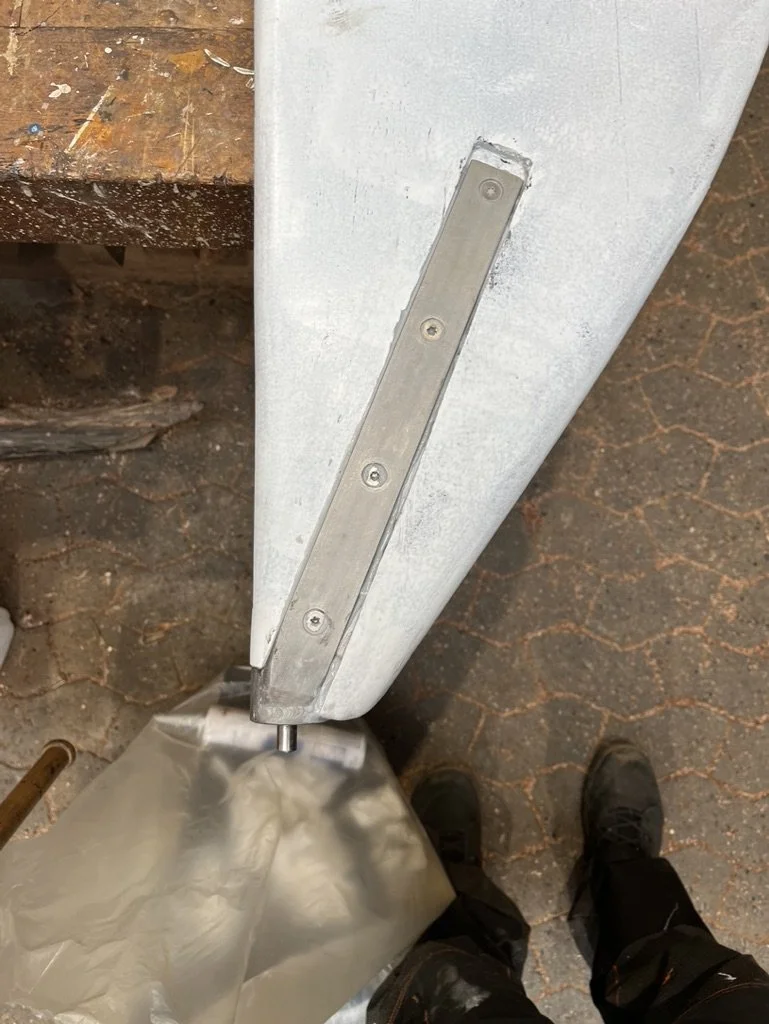
The new bottom bracket finally fits perfectly. I used screws to hold it in place.
-
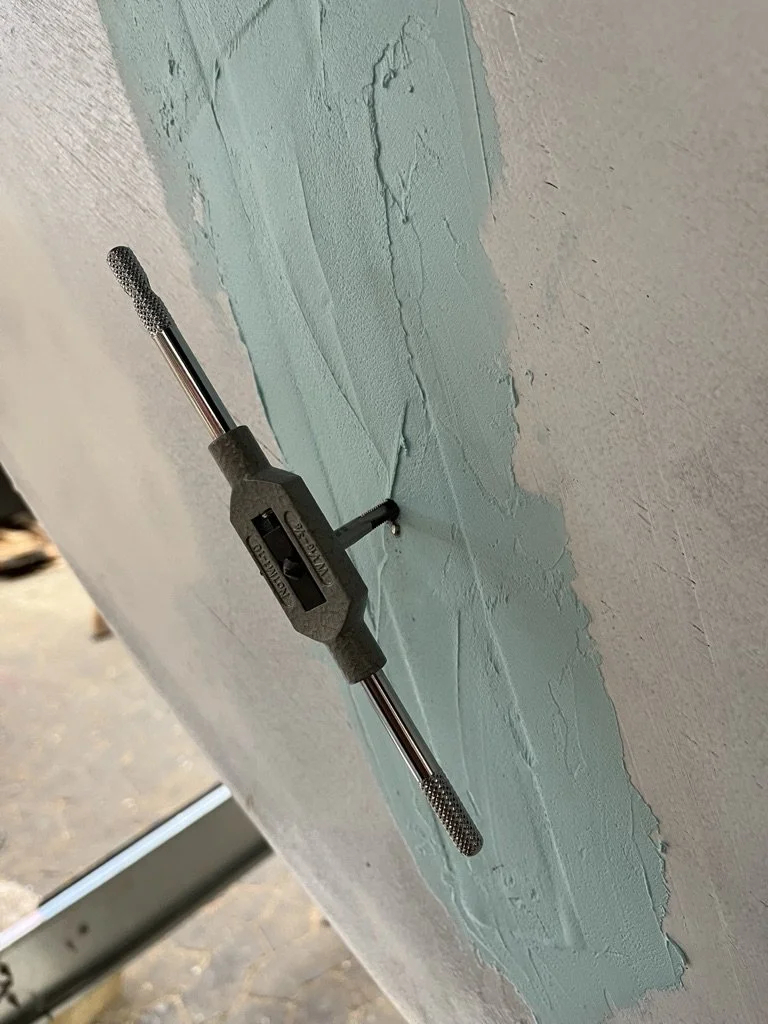
The new rudder stock has been screwed on to the rudder. However, one throug bolt was used to secure the fitting. Threads had to be cut for this.
-
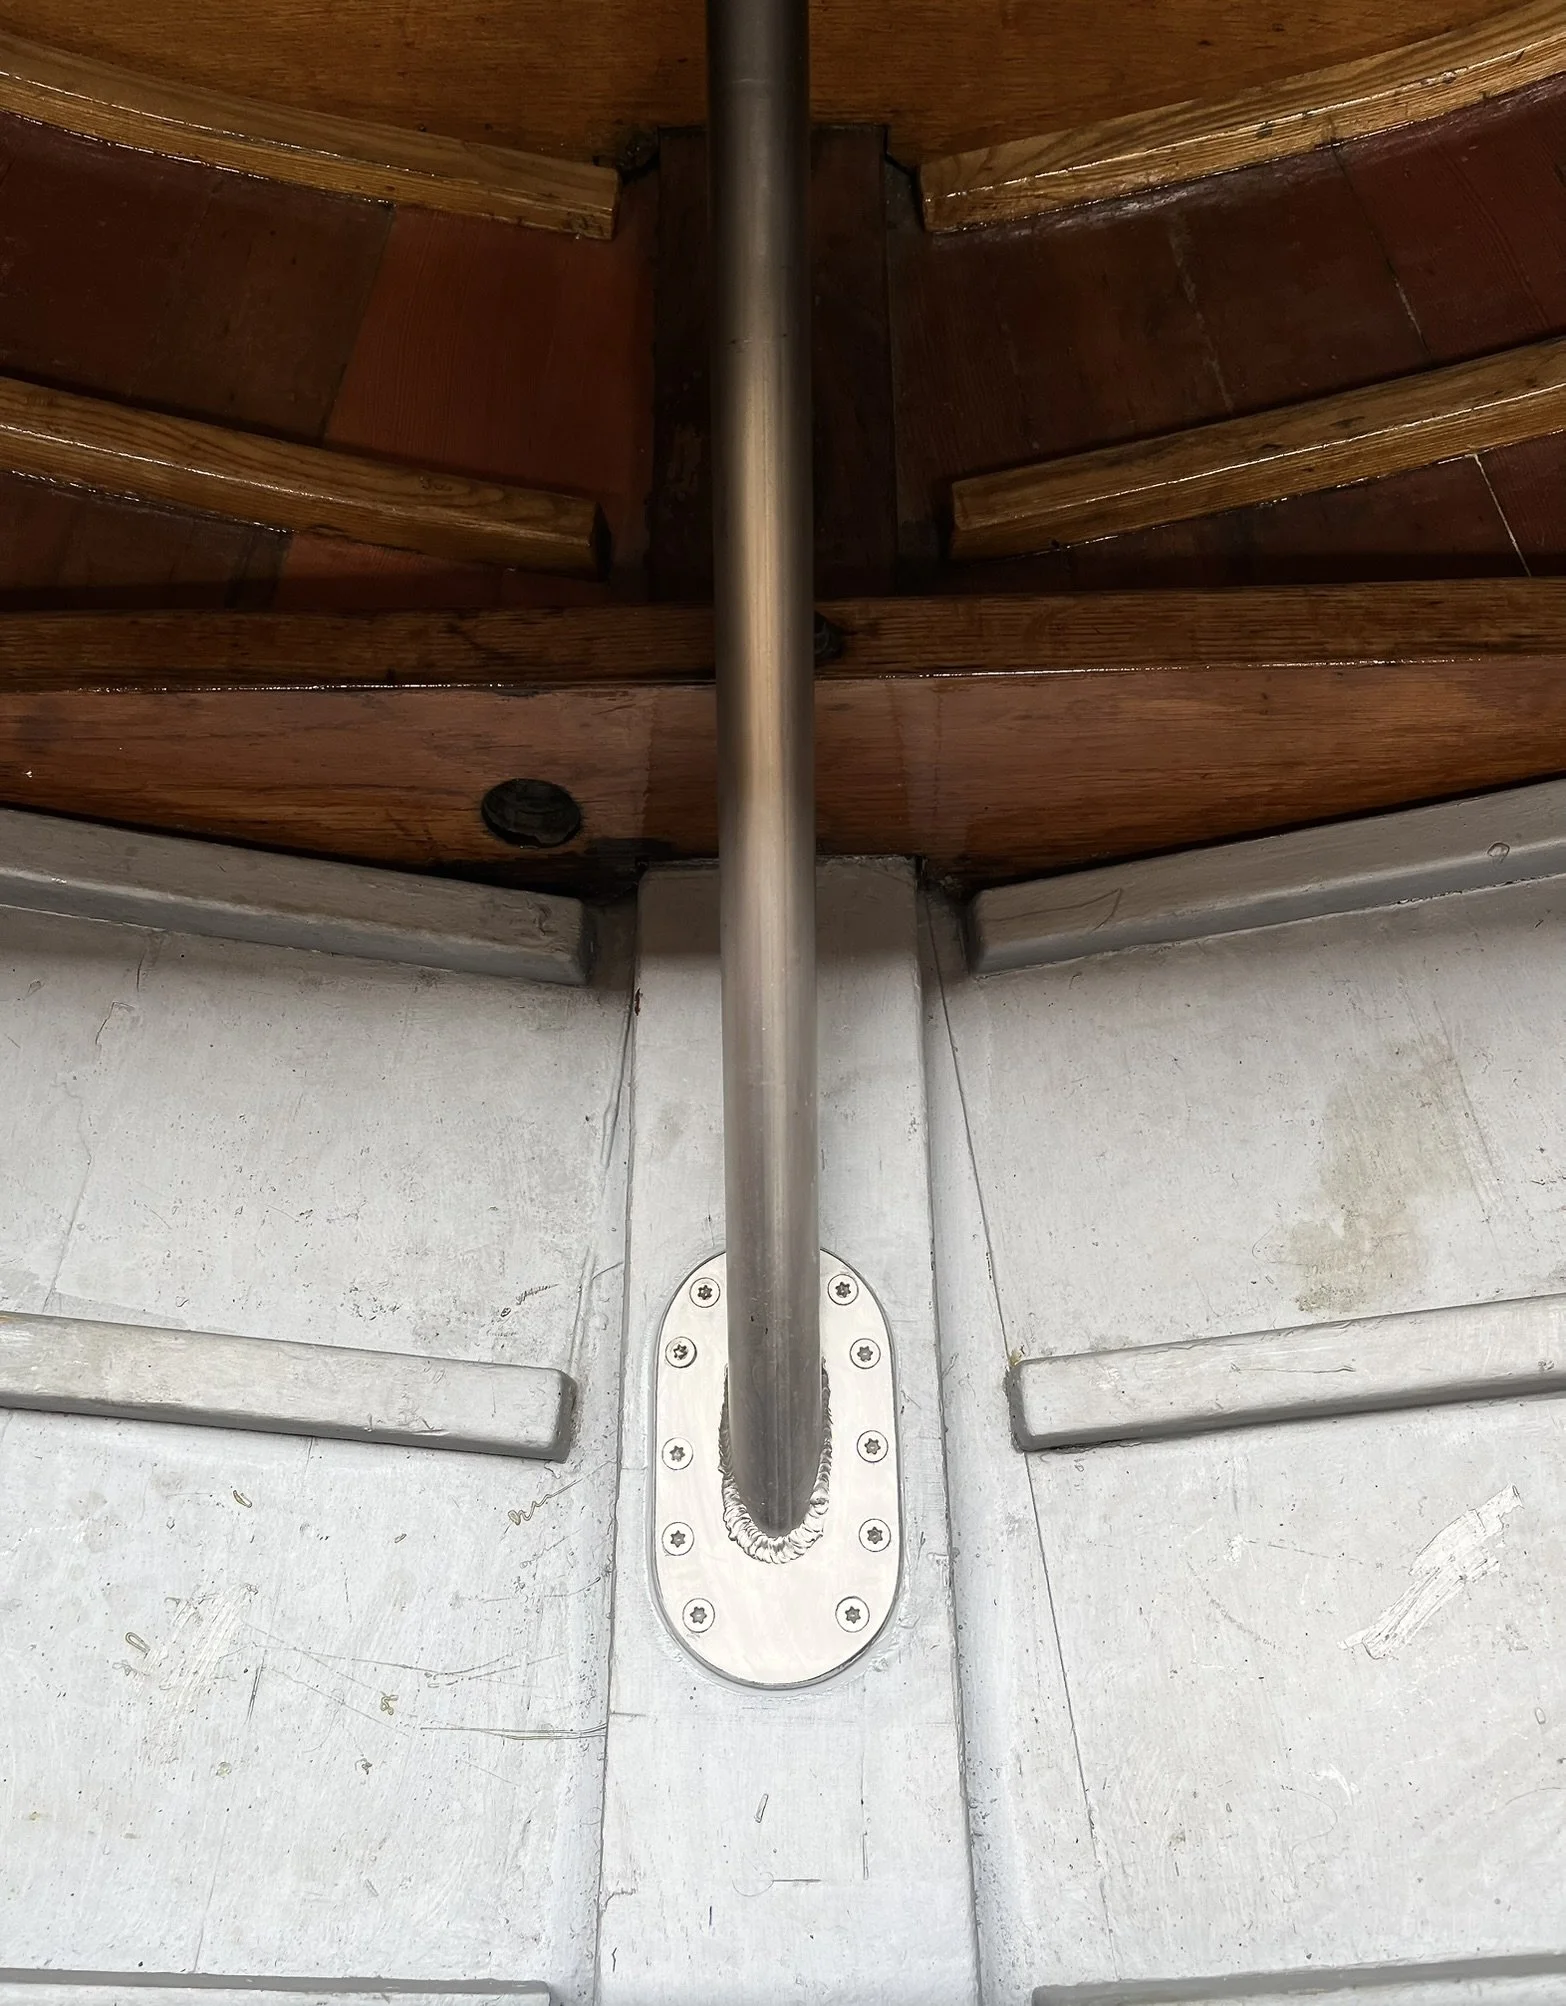
Stainless steel tube with new bottom bracket installed. Looks great and will last for a very long time. Tube and shaft manufactured by Walsteds.
Last two floors to be replaced
-
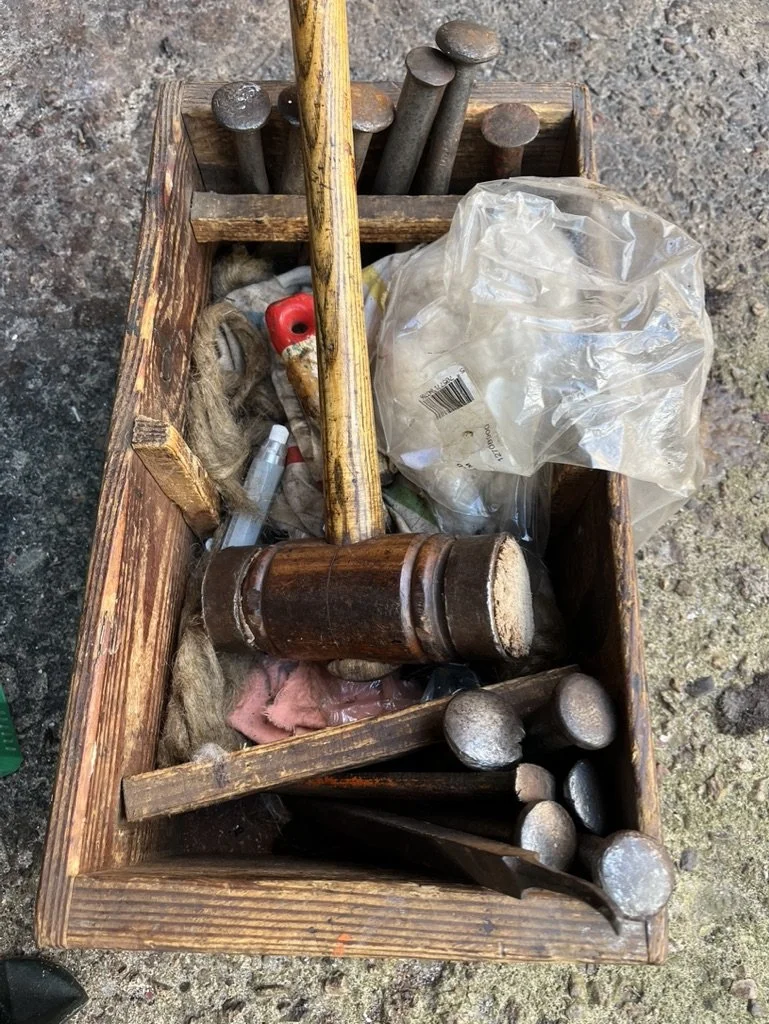
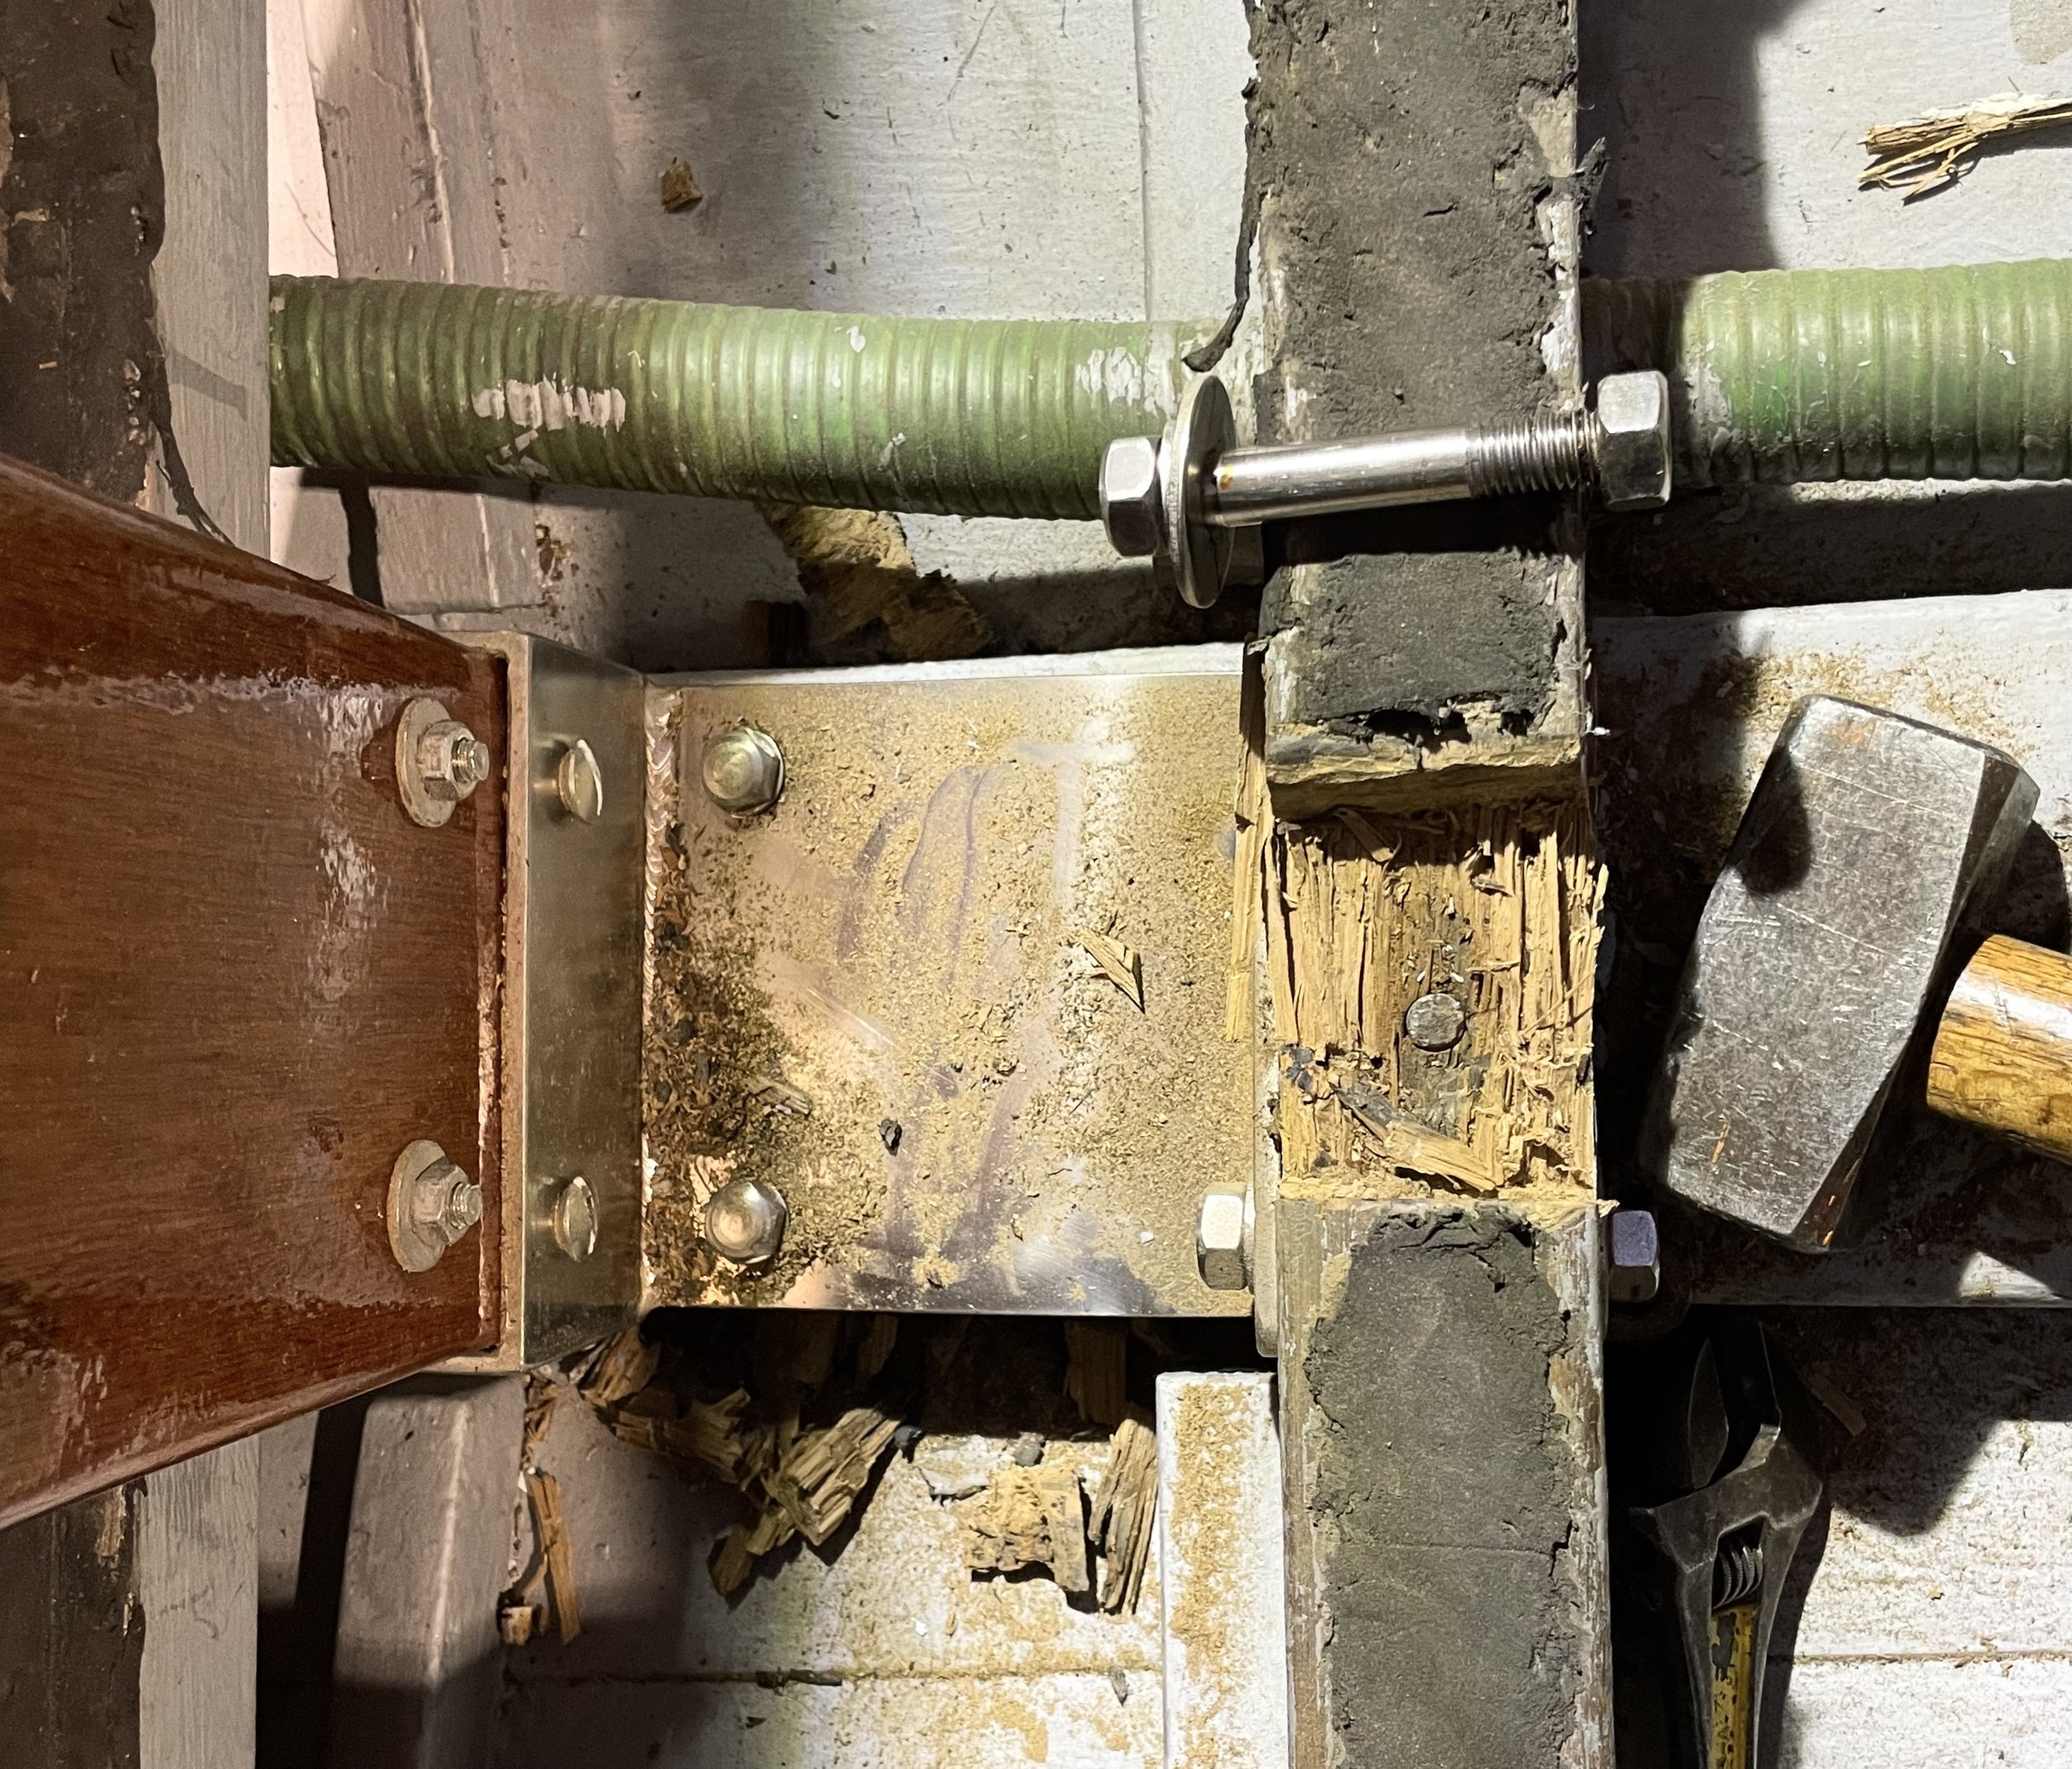
Now that the rudder is removed, we replace all the remaining bolts with new stainless steel bolts.
-
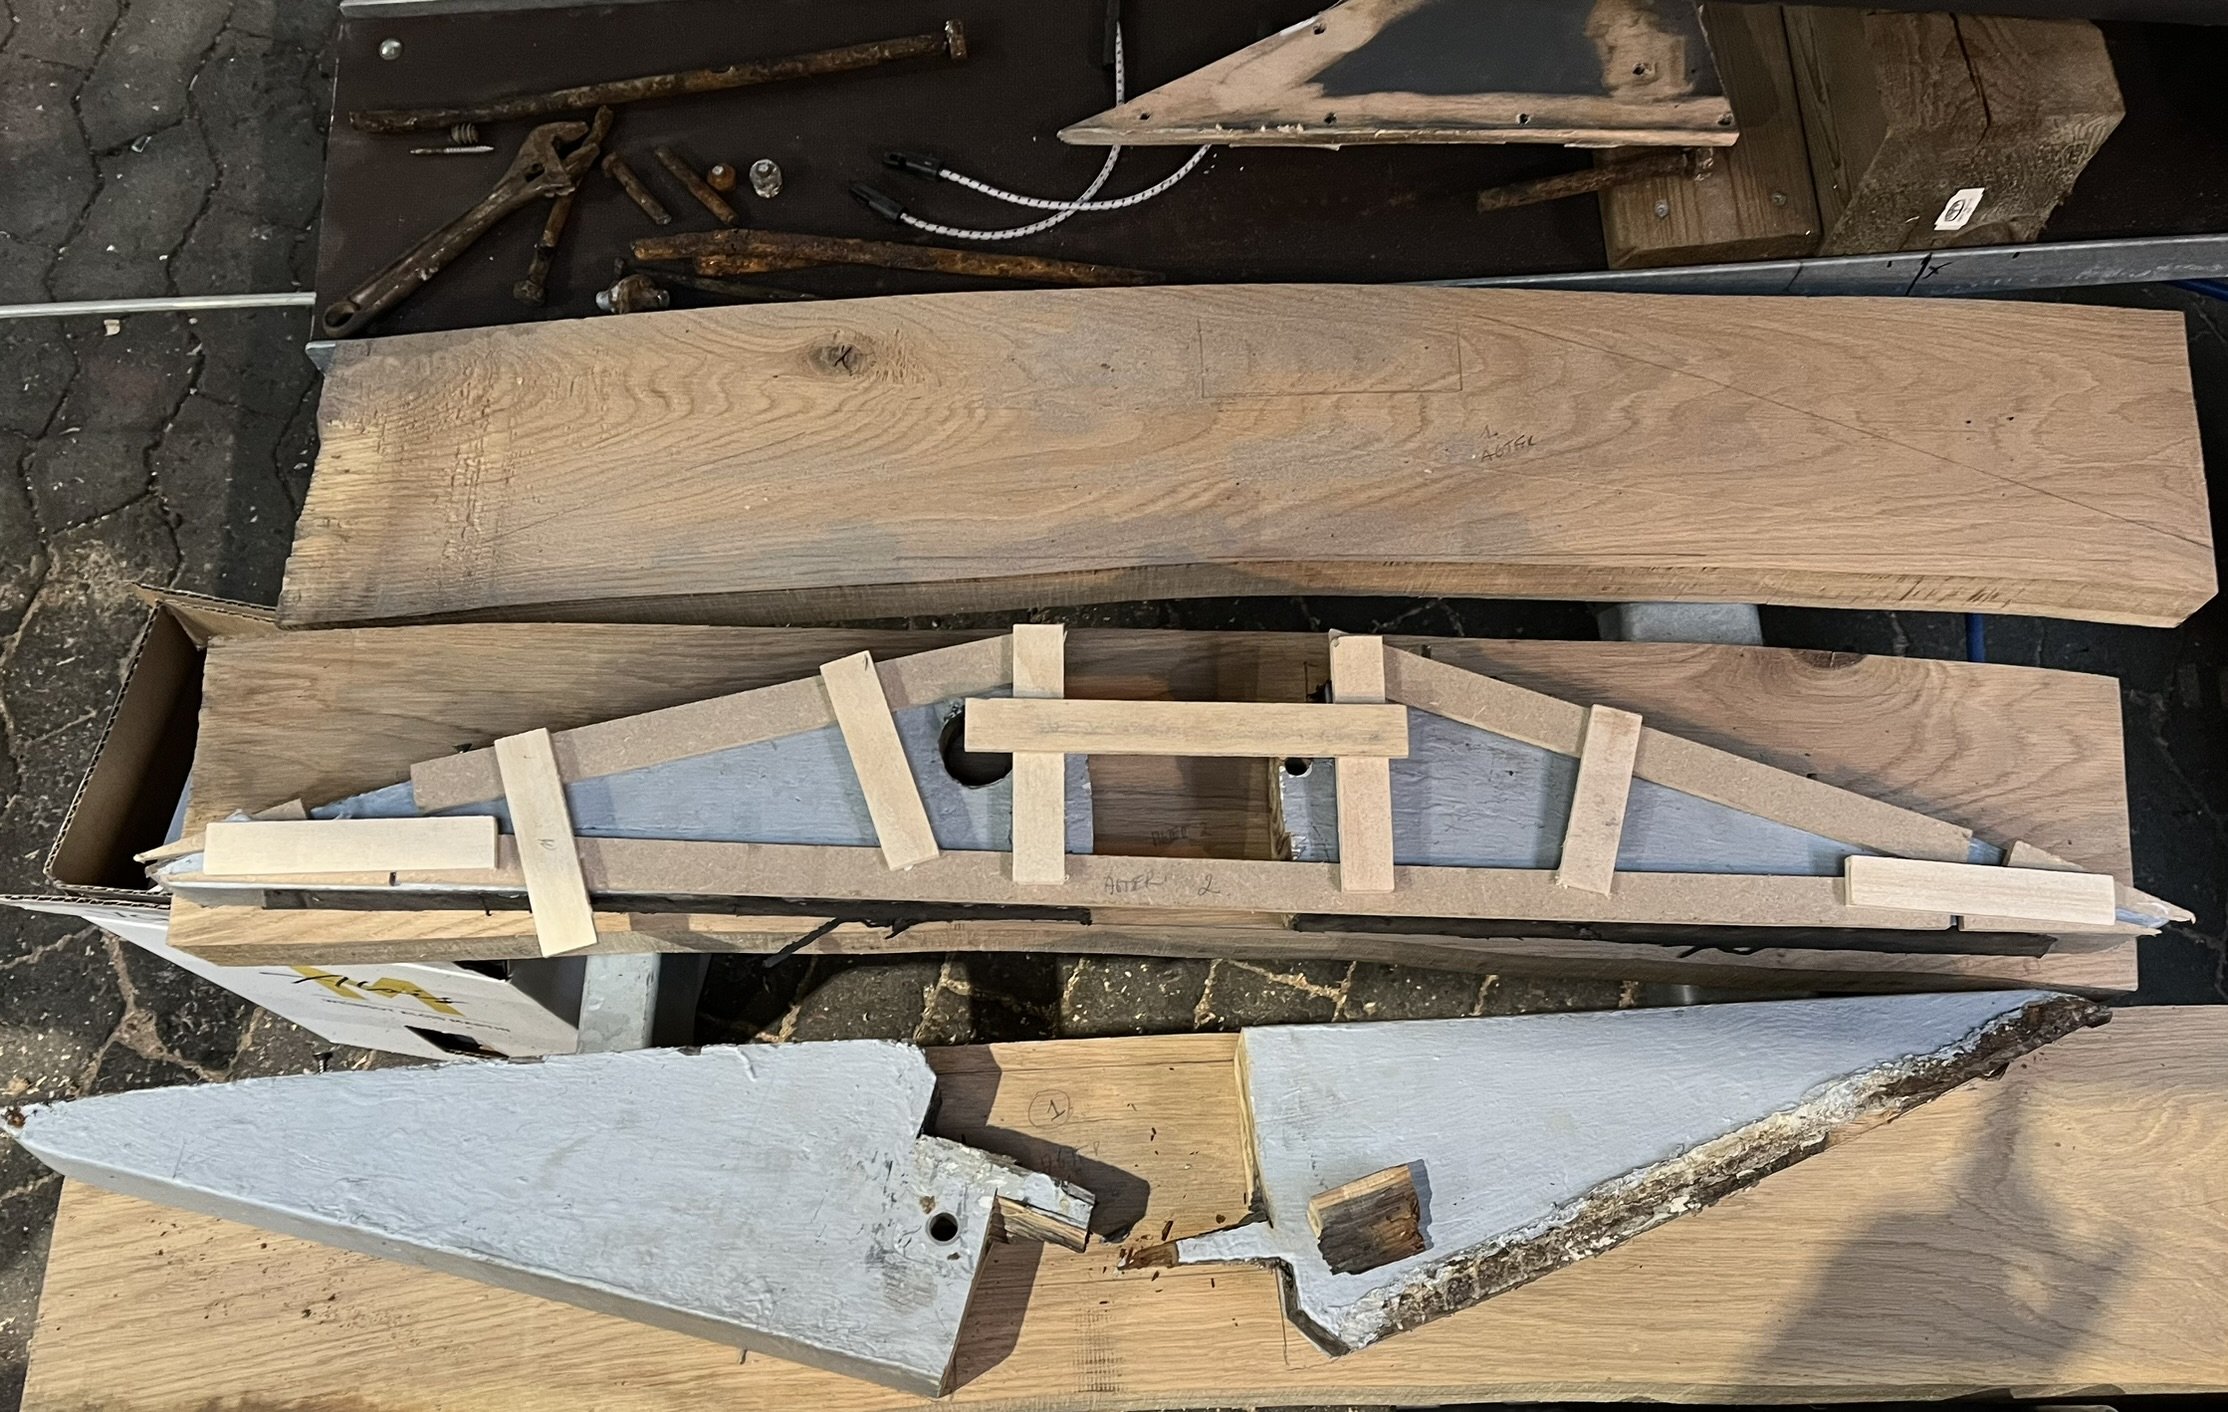
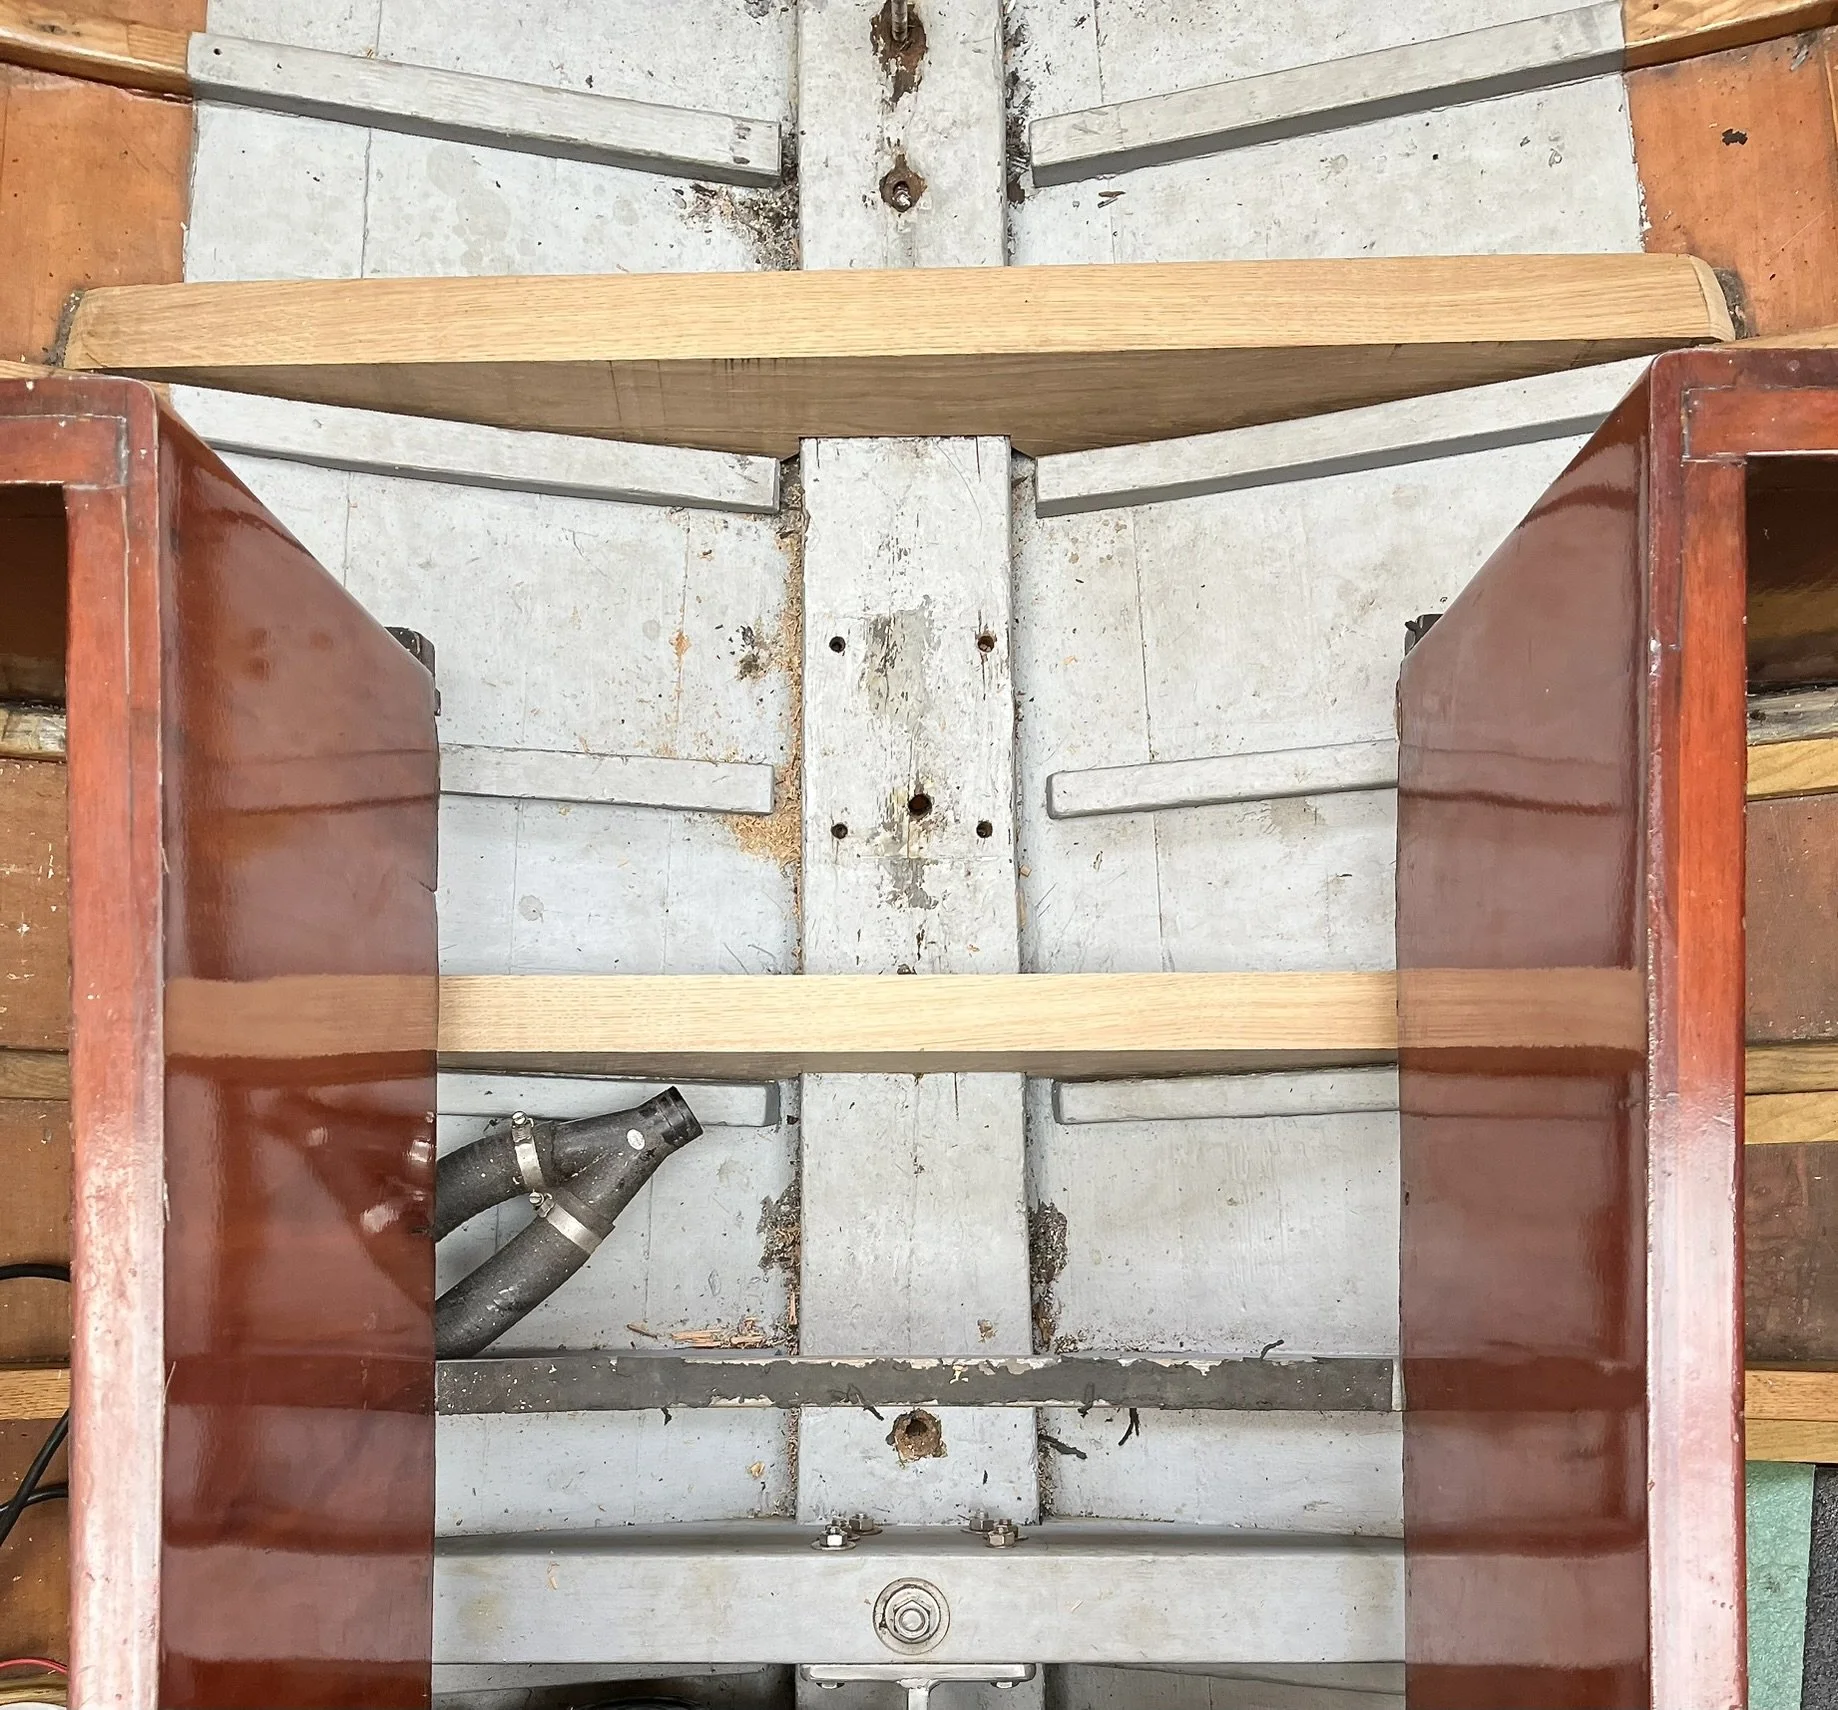
Dry fitting the two new floors, made of old and dried oak tree. I just love to make new floors.
-
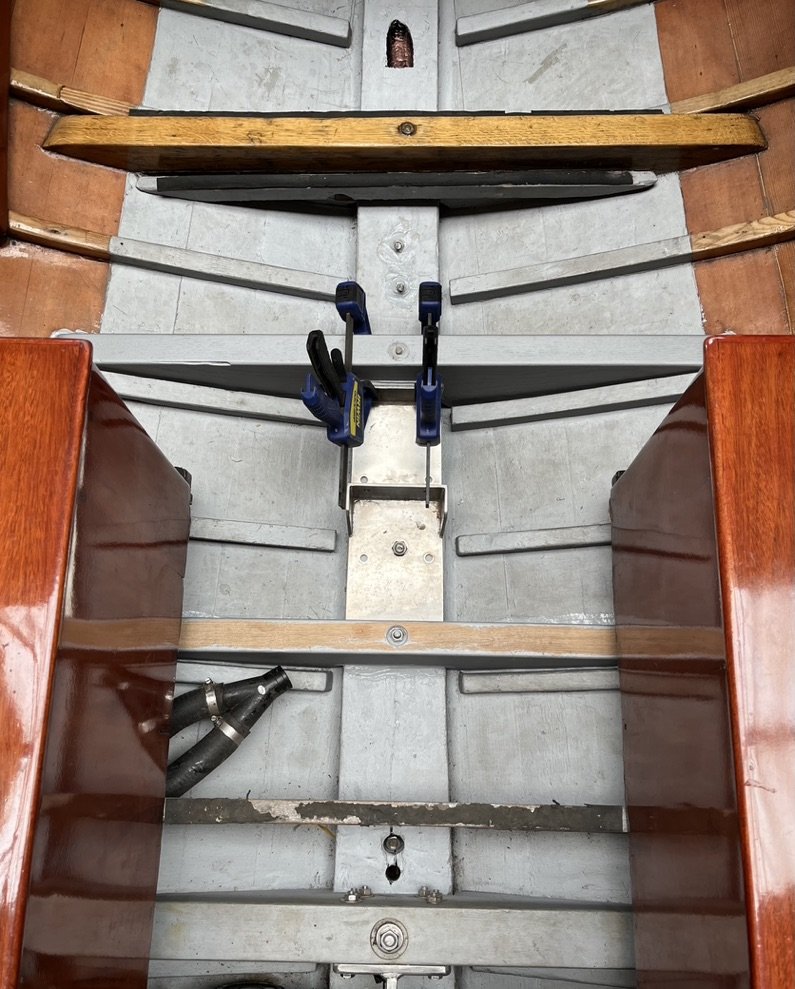
Fitting the stainless steel bracket for the mainsheet post between the two new floors.
Deadwood replaced again
-
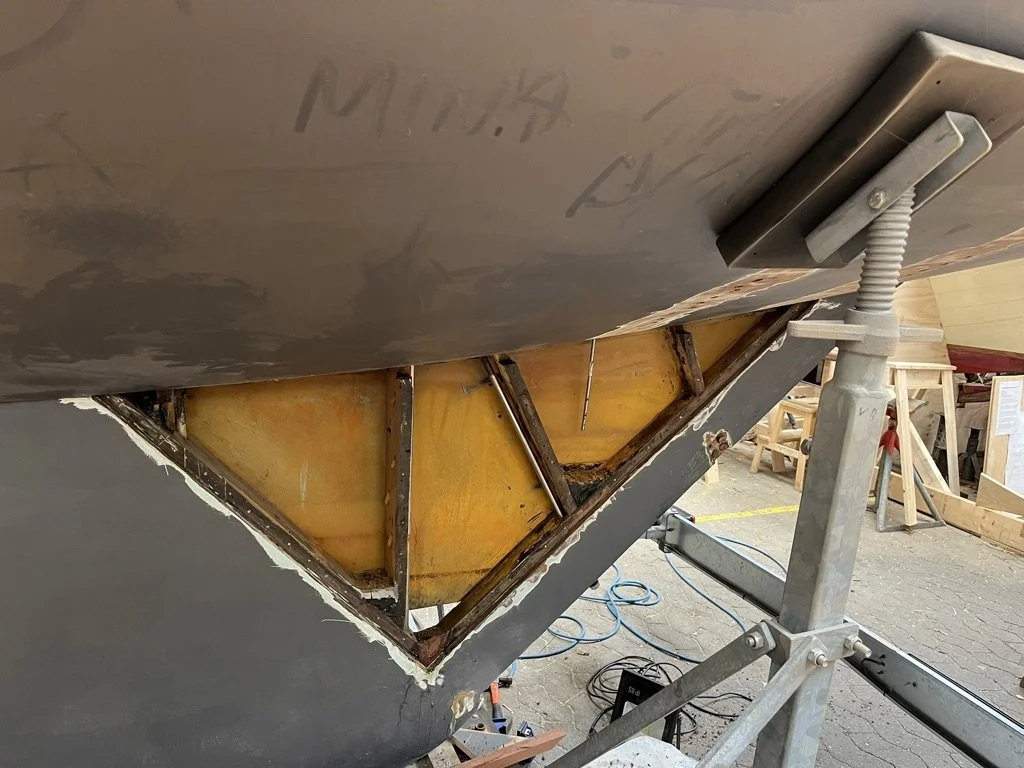
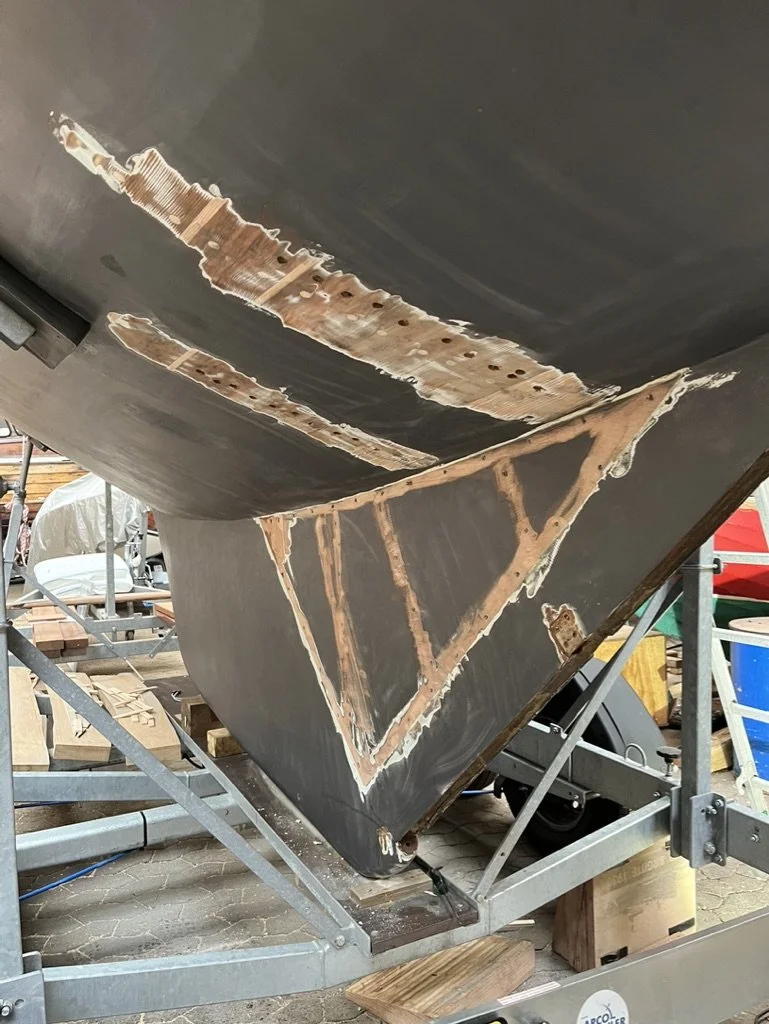
Here we go again… deadwood, unfortunately, needed to be replaced again in order to get to some of the bolts that needed replacing.
-
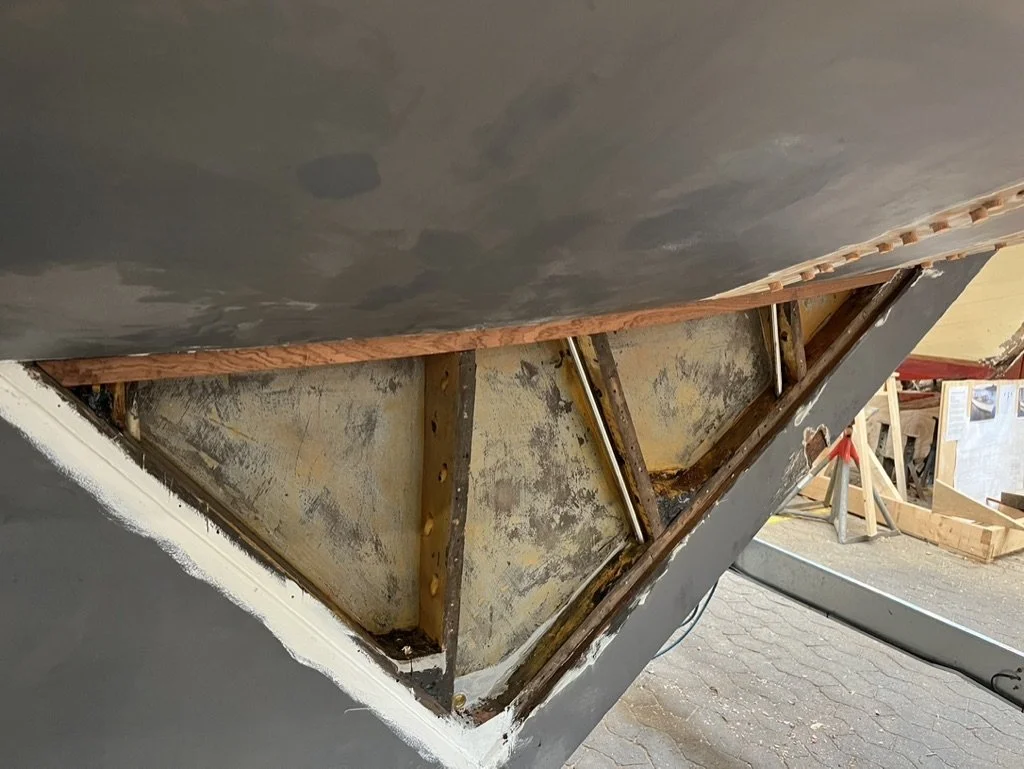
I also needed to remove a top list to get to the bolts. I replaced it with one in Mahogany.
-
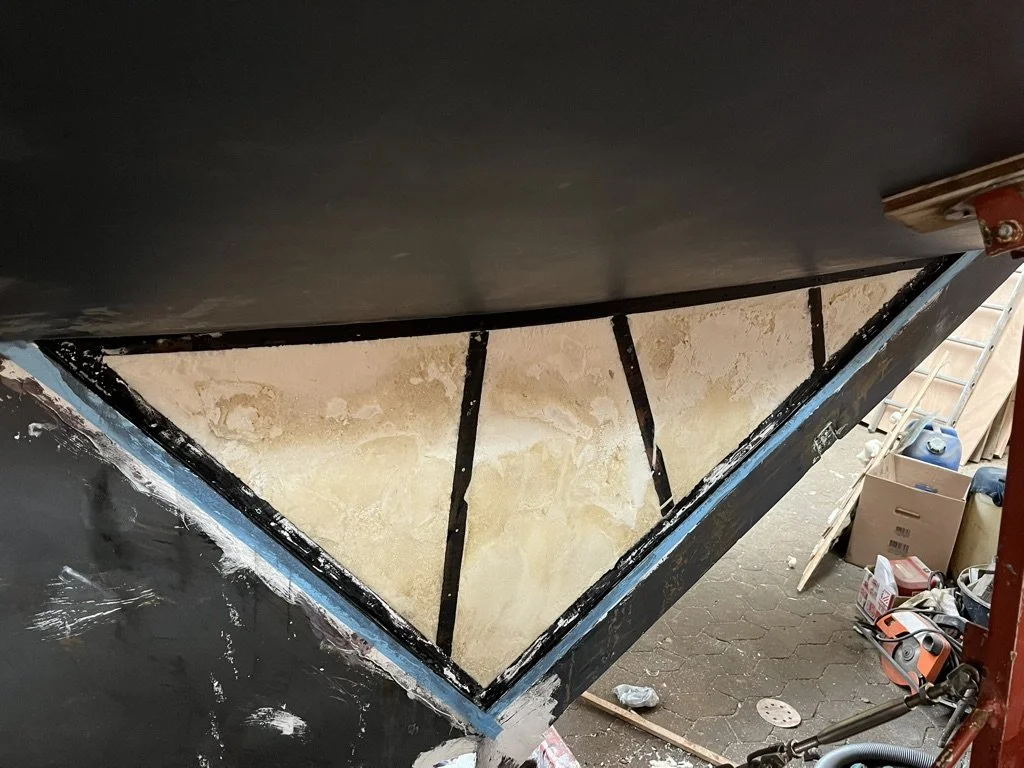
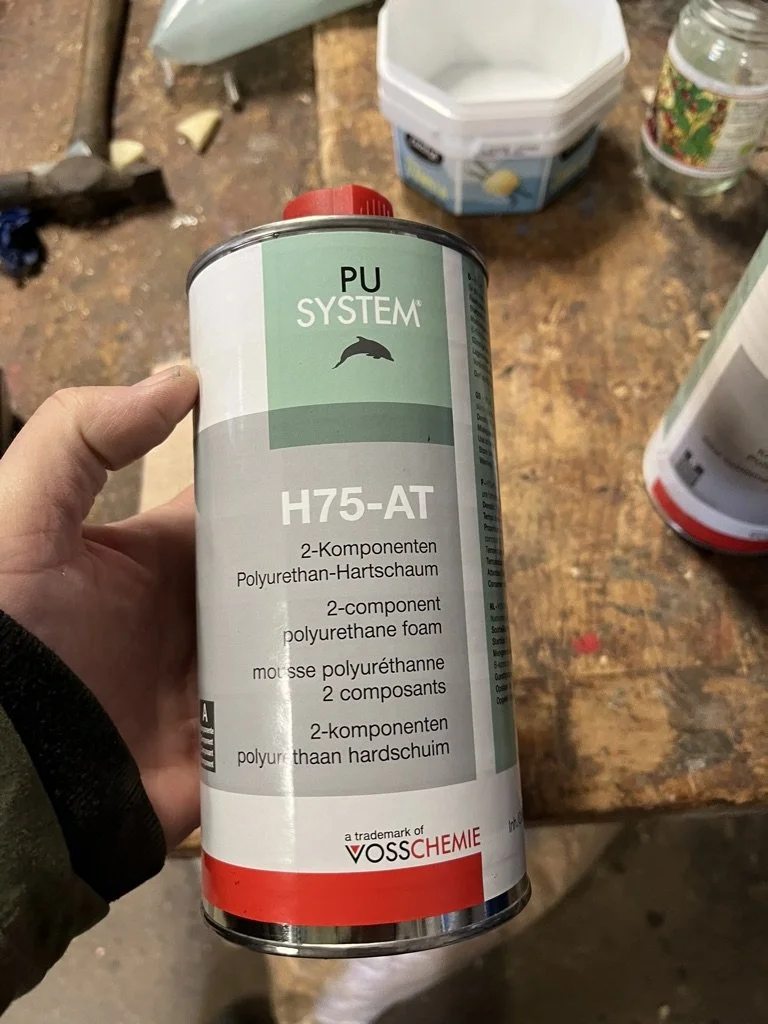
I filled up the space with a special PU foam, which cannot hold water and is super strong and light. Photo is from another Knarr.
-
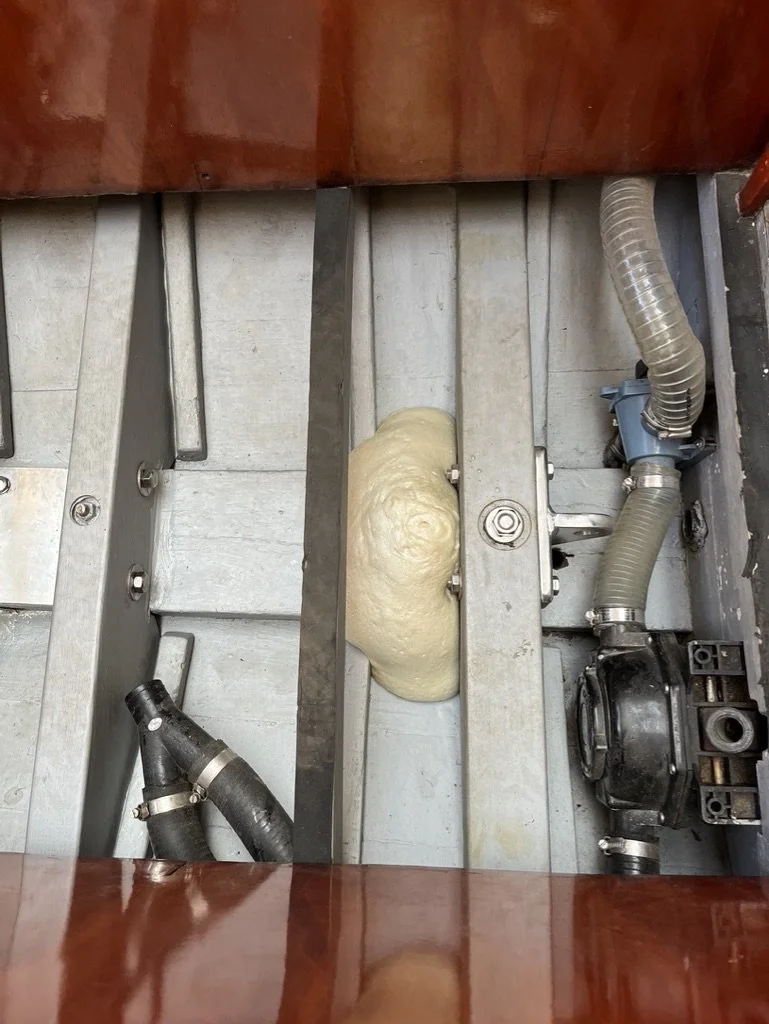
I drilled holes from above to pour the self-expanding 2-component PU foam and as you can see, the excess is returning through the pouring hole.
-
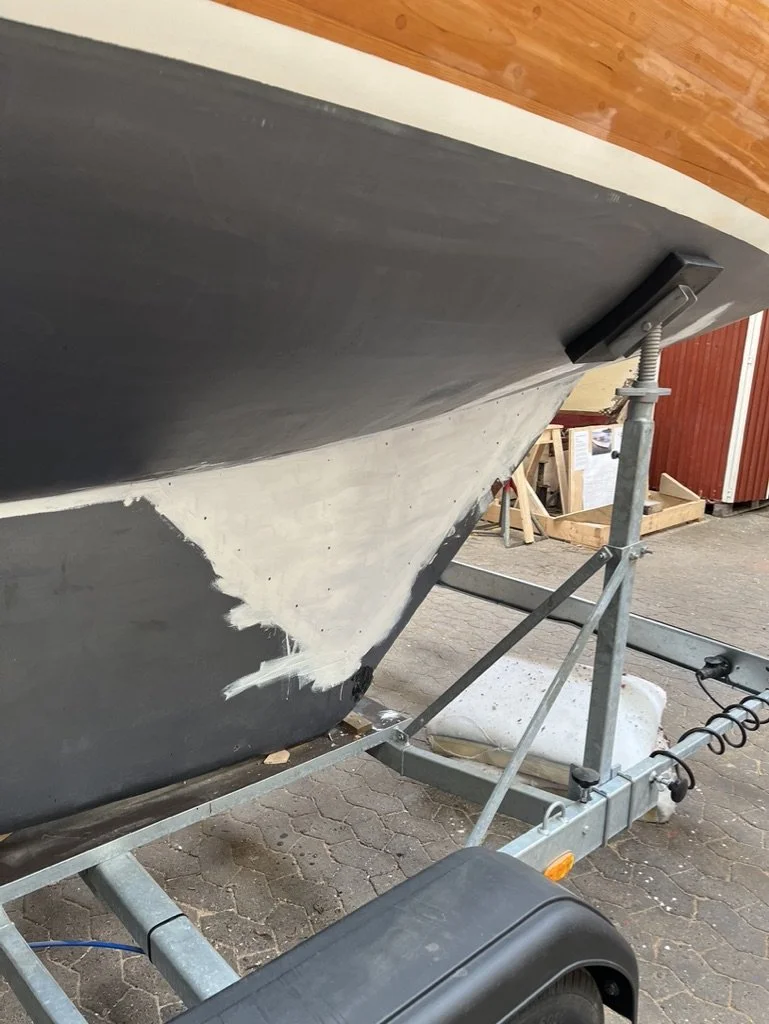
Hopefully this is the last time I am closing up this part of the boat.
-
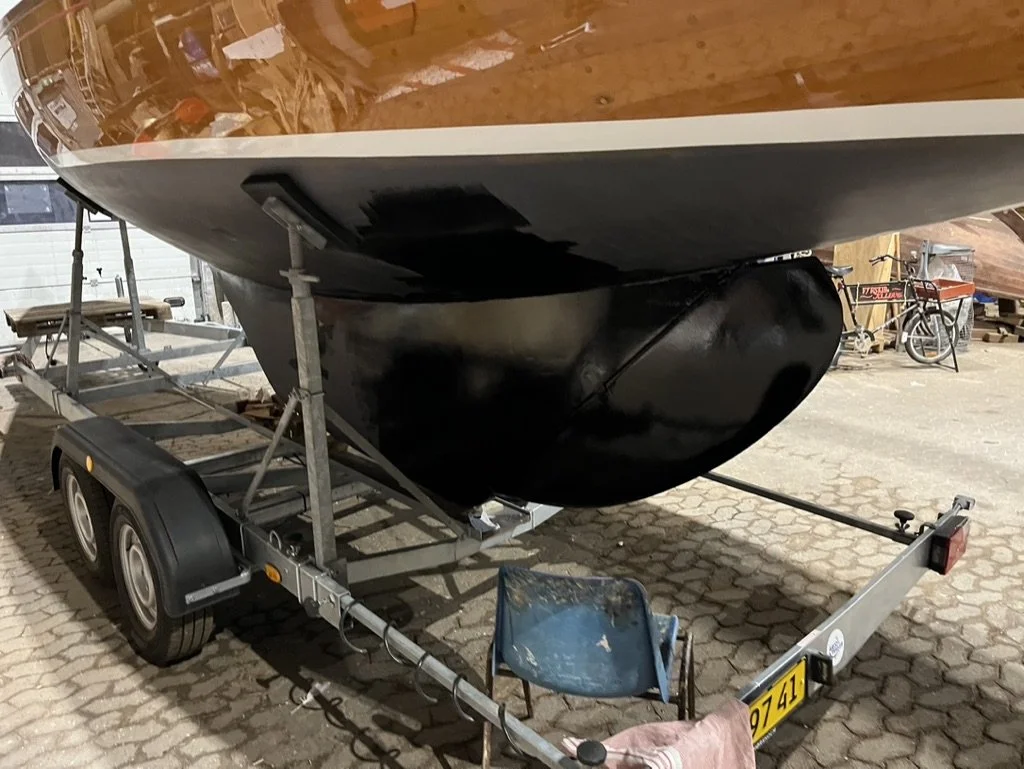
After primer, fairing. After fairing, sanding. After sanding, more primer. After primer, bottom paint. It takes a lot of time.
Varnishing the topsides
-
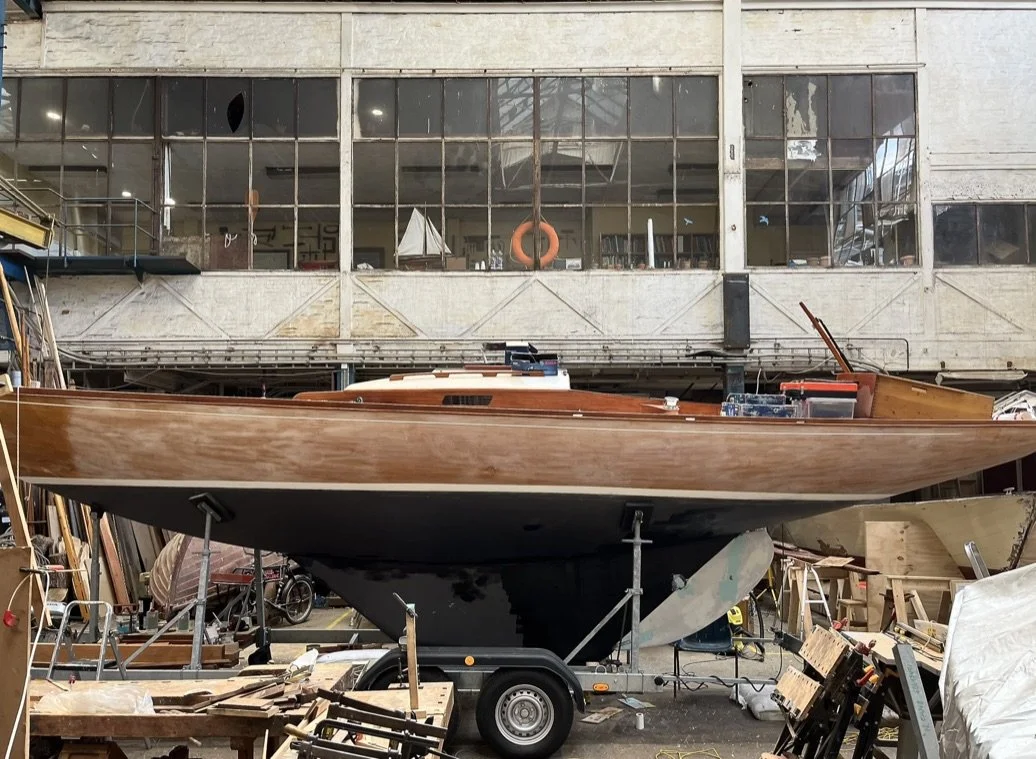
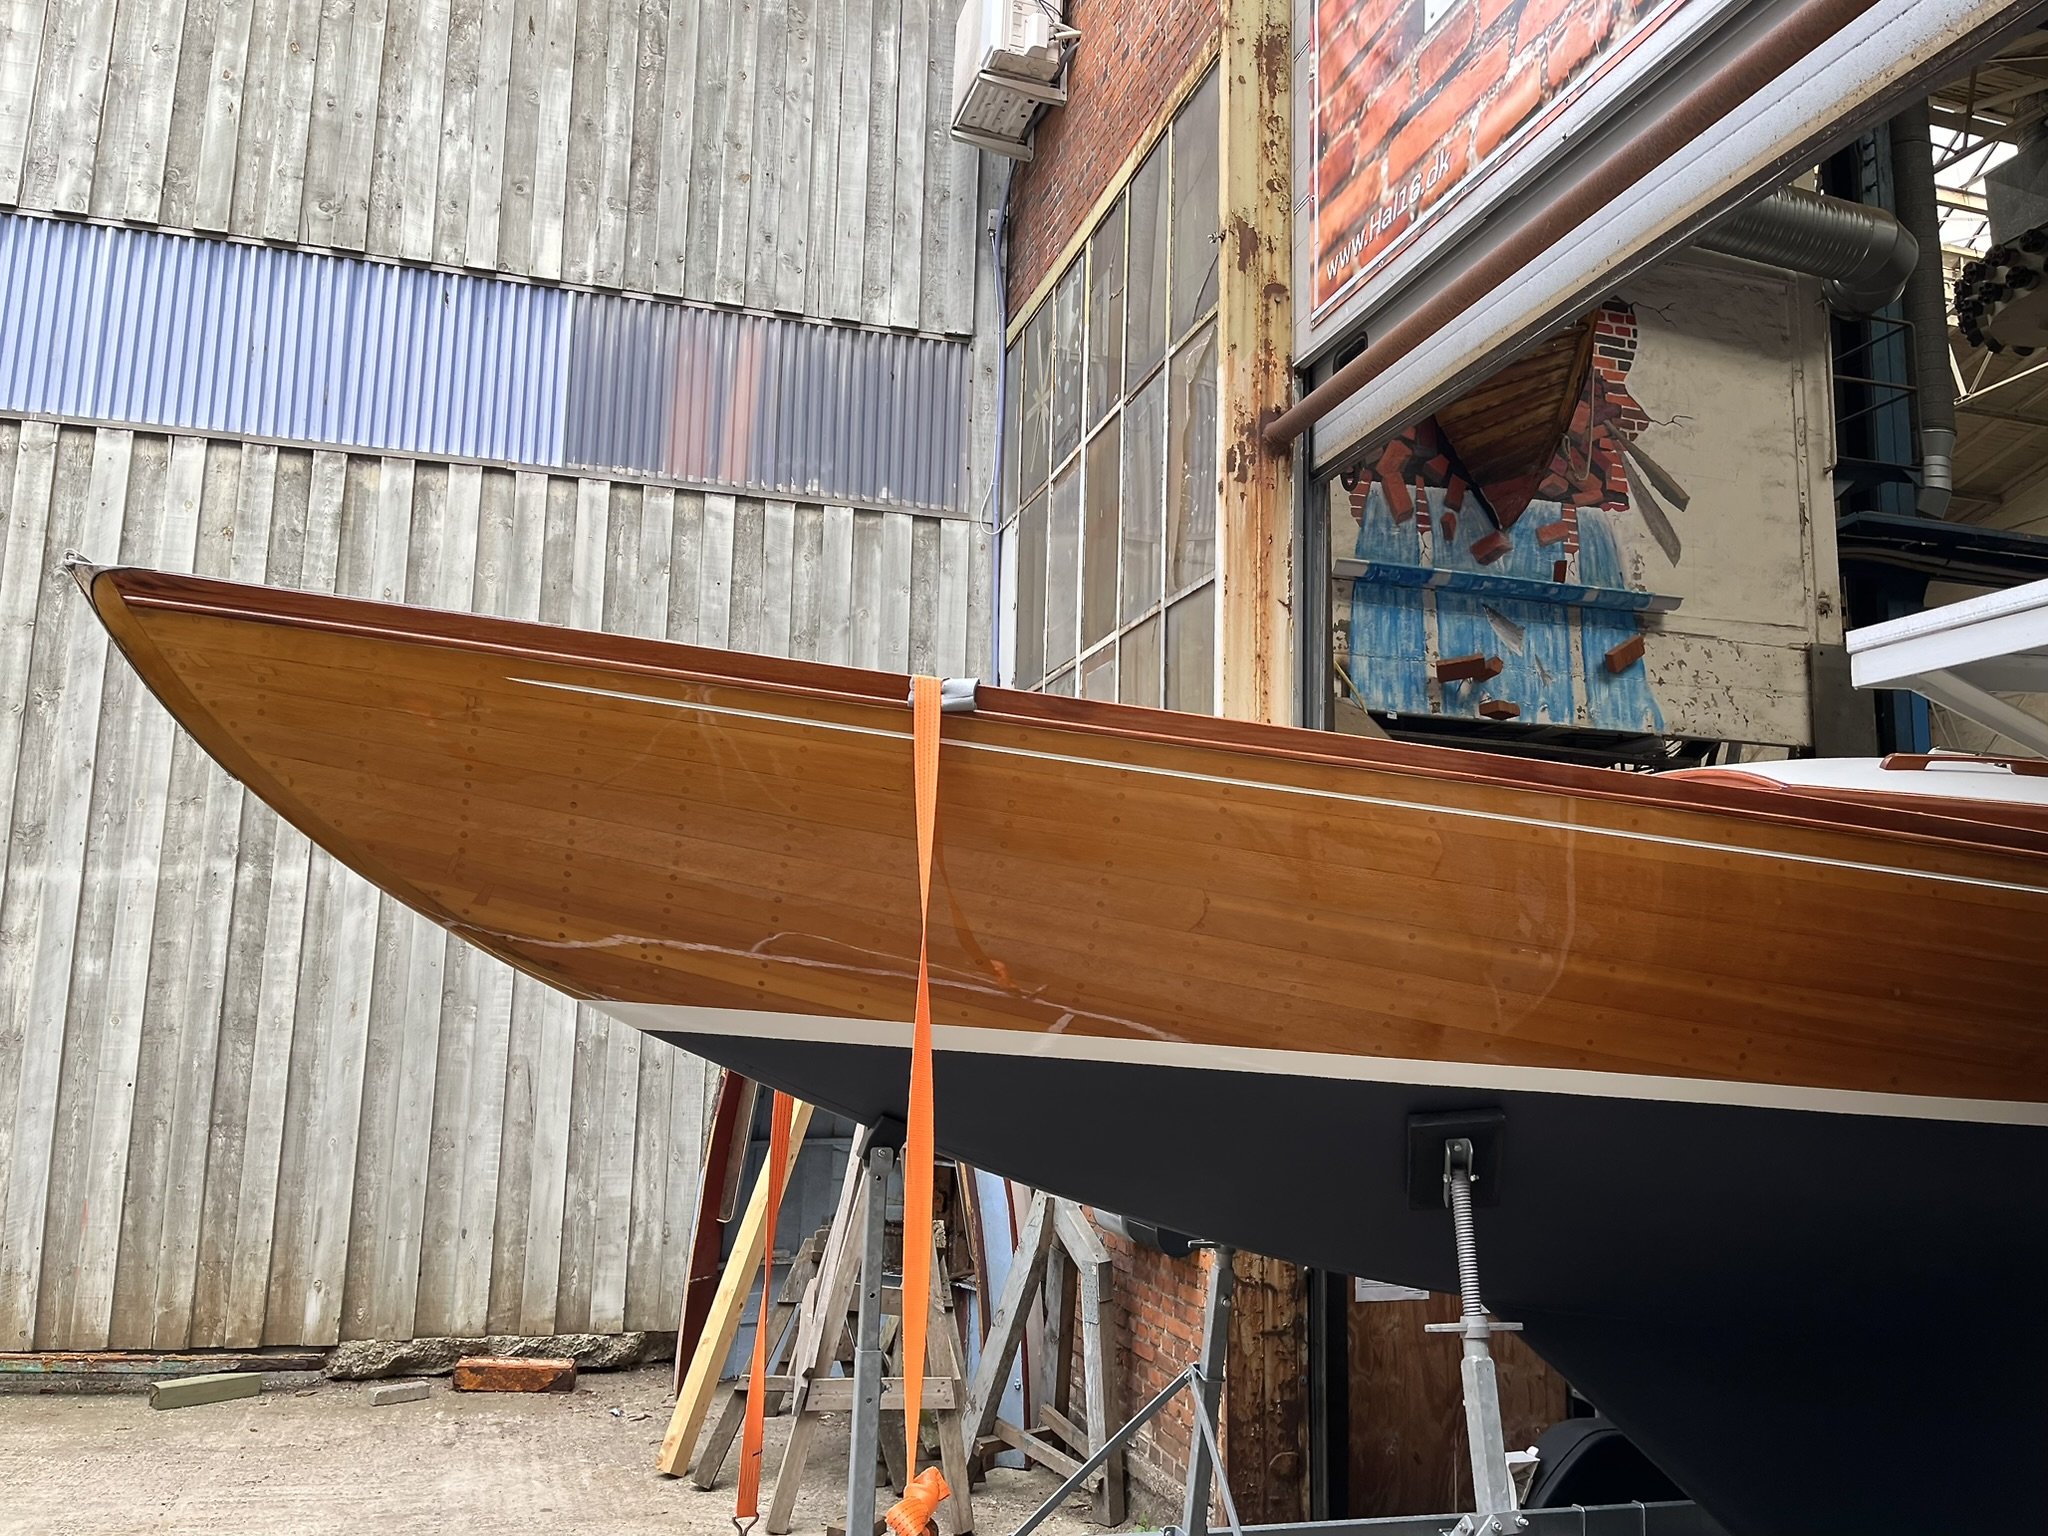
Light sanding for adhesion of the new layers of varnish. Proces is sanding, vacuming the dust, wiping the topsides with a damp cloth and last I wipe of the topsides with a waxed cloth to bind any dust residues, before varnishing.
-
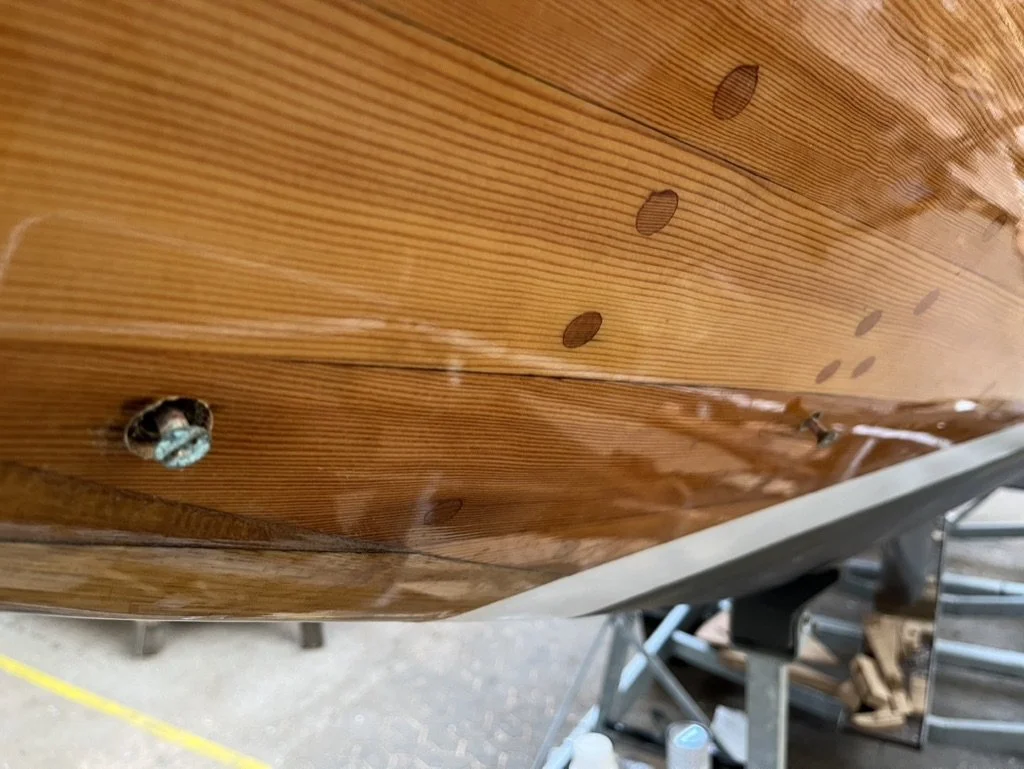
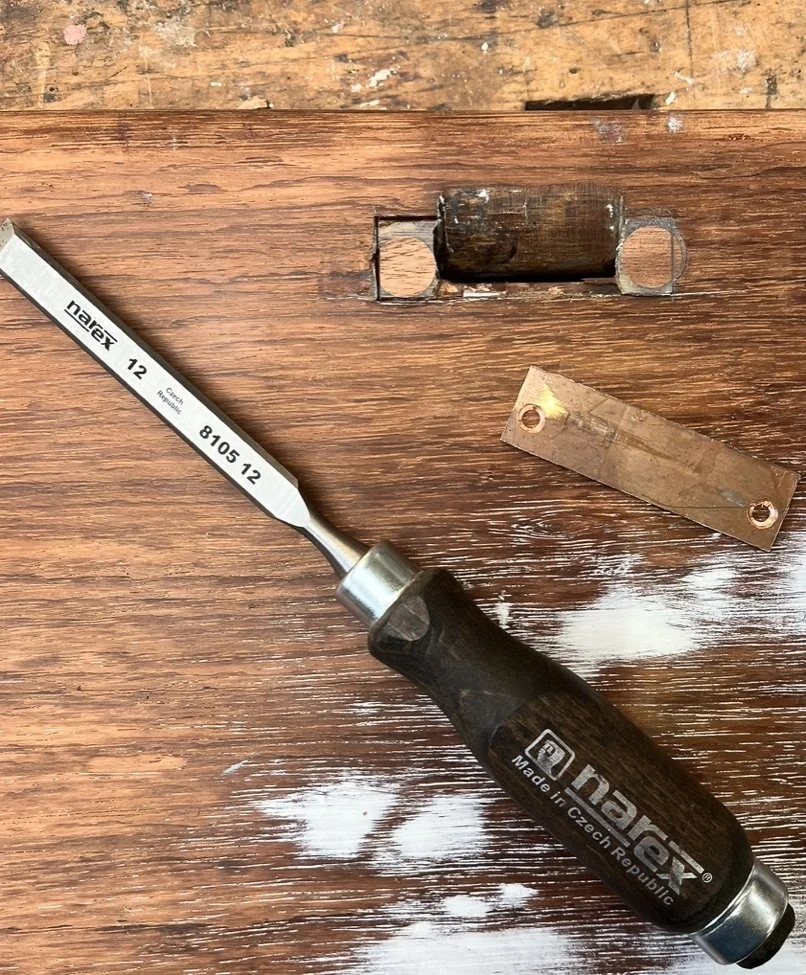
4 damaged plugs needed replacing. While I was at it, I pulled out the screws to inspect the condition of the screws and they were absolutely fine.
-
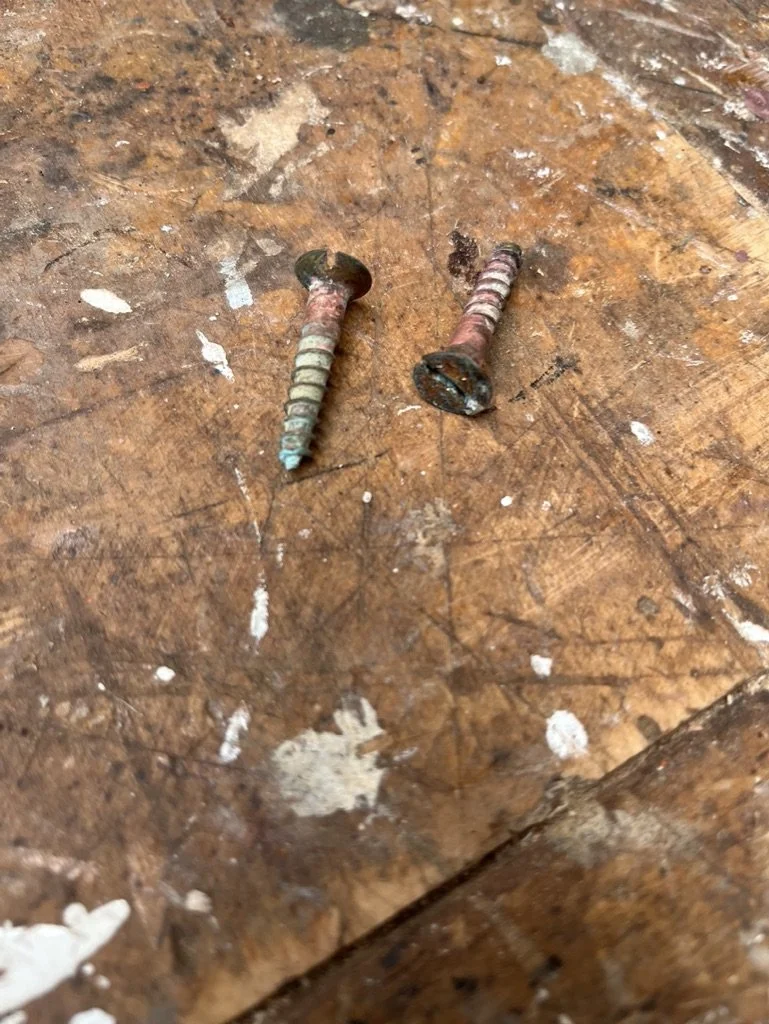
Topside screws are in perfect condition. No need to replace them yet and they will still last a very long time.
Job done.
Out she goes
All structural work has now been completed. All of the standing rigging has been replaced by now. All there is left to do is the yearly maintnance and mayby som small improvement jobs. We shall see. We might buy another wooden Knarr and start all over.
